
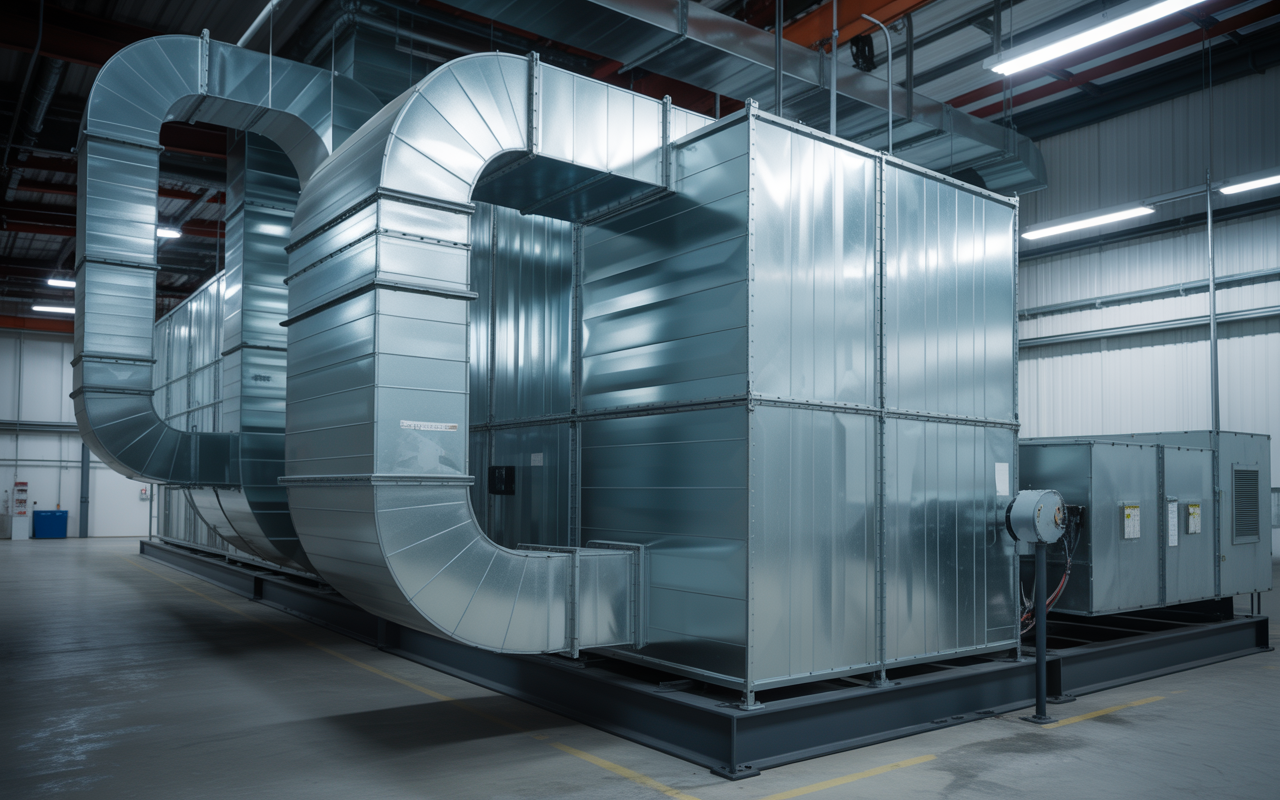
Inspecting Pre-Filters in Dusty Workshops Before They Reach Final Filters
In dusty workshops and light industrial spaces, pre-filters do the first round of particle capture before air reaches finer final filters. A quick visual inspection can tell you a lot about whether the system is coping with the site’s dust load or starting to struggle.
The goal is not just to spot a dirty filter, but to understand what the condition of the pre-filter is telling you about airflow, maintenance timing and the condition of the wider system.
Why pre-filter checks matter in dusty workshop systems
Pre-filters are there to take the brunt of the dust, swarf, lint and coarse airborne debris that build up in busy work areas. When they load up, the system has to work harder to pull air through them, and the final filters are left to deal with more than they should.
That matters in workshop and light industrial applications where dust levels can change quickly depending on the task, the material being handled and how often doors, roller shutters or extraction points are opened.
A good inspection routine helps you:
- •spot heavy loading before airflow becomes visibly restricted
- •check whether dust is building up unevenly across the filter face
- •identify damage, bypass or poor fit that can let debris pass through
- •decide whether the issue is the filter itself or a wider system problem
- •keep records that support maintenance planning and purchasing decisions
If you manage multiple sites or a busy workshop, it is worth keeping filter servicing aligned with the actual dust conditions rather than relying on guesswork.
What to look for during a visual inspection
A visual check is often the fastest way to tell whether a pre-filter is nearing the end of its useful service in that location. You do not need specialist tools to begin with, but you do need to look closely and compare the filter to its normal condition when newly installed.
Signs of heavy loading
Heavy loading usually shows up as a blanket of dust across much of the media surface. In some systems the dust cake may appear even and grey; in others, it may be patchy because the air is moving through one section more than another.
Look for:
- •darkened or visibly matted filter media
- •dust built up on the upstream face
- •a layer of particles that does not brush off easily
- •reduced visible open area across the filter
- •dust collecting around the frame or housing because the filter is no longer holding material evenly
If the pre-filter is heavily loaded soon after installation, that can be a sign the workshop dust load is higher than expected or that the filter grade is not well matched to the site.
Signs of visible debris
Not all debris is fine dust. In workshops, pre-filters can catch larger fragments such as packing material, wood chips, fibrous debris, metal filings and general airborne dirt.
Check for:
- •lodged debris on the leading face of the filter
- •bits of material bridging across the media surface
- •dust clumps around corners or along the top edge
- •foreign material inside the housing, duct entry or access door area
- •debris that suggests upstream contamination from the process itself rather than normal ambient dust
If you are seeing a lot of coarse debris, it may be worth reviewing our products to see whether the pre-filtration stage needs to be better matched to the workshop environment.
Damage, distortion and bypass are just as important
A pre-filter does not only fail by becoming dirty. It can also stop doing its job if the media is damaged, the frame has warped or the seal is compromised.
What damage can look like
During inspection, check for:
- •tears, holes or punctures in the media
- •collapsed or distorted pleats
- •broken, bent or cracked frames
- •gaps between the filter edge and the holding frame
- •signs that dust has passed around the filter rather than through it
- •wet spots, mould growth or contamination from moisture in the system
Some filters are designed to be washable - check the product instructions before attempting cleaning or re-use. If a product is not designed for cleaning, washing it can weaken the media or distort the frame.
Why fit matters
Even a well-made filter can perform poorly if it does not sit correctly in the housing. A loose fit, damaged gasket or misaligned holding frame can allow dirty air to bypass the filter and reach the next stage.
That is why pre-filter inspection should include the housing, not just the filter media itself. Look at the seals, clips, rails and access panels, especially after maintenance or changeover work.
If you need a replacement that matches an existing frame, how to measure an air filter is a practical starting point before you order.
Use pressure drop and system behaviour alongside visual checks
A visual inspection tells you what the filter looks like. Pressure drop tells you how the system is behaving.
Where gauges are fitted, monitor pressure drop across the pre-filter and compare it with the manufacturer’s instructions for the filter and the equipment. Rising pressure drop can indicate the filter is loading up even before the surface looks heavily soiled.
Signs that the pre-filter may be restricting airflow include:
- •the system seems to move less air than usual
- •dust capture at the point of use appears weaker
- •filters upstream or downstream are loading faster than expected
- •fans, motors or extraction equipment sound different under load
- •the gauge shows a stronger resistance than normal for that installation
Inspection frequency depends on the system, site conditions and dust load. A workshop with wood dust, grinding dust or frequent door openings may need checking more often than a cleaner, lightly used space. Follow the filter and equipment manufacturer instructions, and use field observations rather than a fixed calendar alone.
Match inspection and replacement to the site, not to a guess
Two workshops can use the same filter size and still need very different maintenance approaches. Dust type, operating hours, process changes and building layout all affect how quickly pre-filters load up.
For workshop managers and contractors, a sensible approach is to:
- •inspect filters after unusually dusty tasks or site changes
- •compare several filters in the same system to see loading patterns
- •note whether dust is distributed evenly or concentrated in one area
- •confirm whether the filter grade suits the application and housing
- •check whether the system has enough pre-filtration before final filters
Where the system is part of a broader ventilation setup, site requirements should be confirmed with the mechanical services engineer or building owner. If you are working on a commercial ventilation project, AS 1668.2:2024 may be relevant, but the right filter arrangement still depends on the specific installation.
If the current setup is not coping with the dust level, you may need a different configuration rather than simply changing filters more often. In those cases, custom air filters can be a practical option when standard sizes or constructions do not suit the housing.
A simple inspection routine for workshop teams
A practical pre-filter check does not need to be complicated. The key is consistency and keeping a record of what you find.
During a routine inspection, look at:
- •the amount and type of dust on the filter face
- •whether the loading is even or concentrated in patches
- •any tears, distortion or loose fit
- •the condition of the seals and housing
- •the pressure drop reading, if a gauge is installed
- •whether the dust pattern suggests the filter is matched to the site
If you are replacing filters on a busy site, it can help to keep the old filter until the new one is checked in place. That makes it easier to compare fit, media type and dust pattern, especially when managing more than one system.
When to escalate the issue
Escalate to the mechanical contractor, maintenance team or filter supplier if you notice:
- •repeat loading far sooner than expected for the site
- •dust bypassing the filter frame
- •damaged housings or failed seals
- •signs of moisture, corrosion or contamination inside the unit
- •a pattern of final filters loading too quickly after pre-filter changes
Talk to Total Air Filtration about the right pre-filter solution
Total Air Filtration is a family-owned air filter manufacturer and supplier in Hillcrest, Brisbane QLD, and we can help you specify, supply or make the right filters for dusty workshop and light industrial systems.
If you need support with fit, media choice or a replacement for an existing unit, call 07 3800 3448 or request a quote. You can also view our products or contact us to discuss the filter arrangement that suits your site.
Written by
The Total Air Filtration Team
General information only — always follow the instructions for your filter and system. Have questions about this article? We're here to help.