
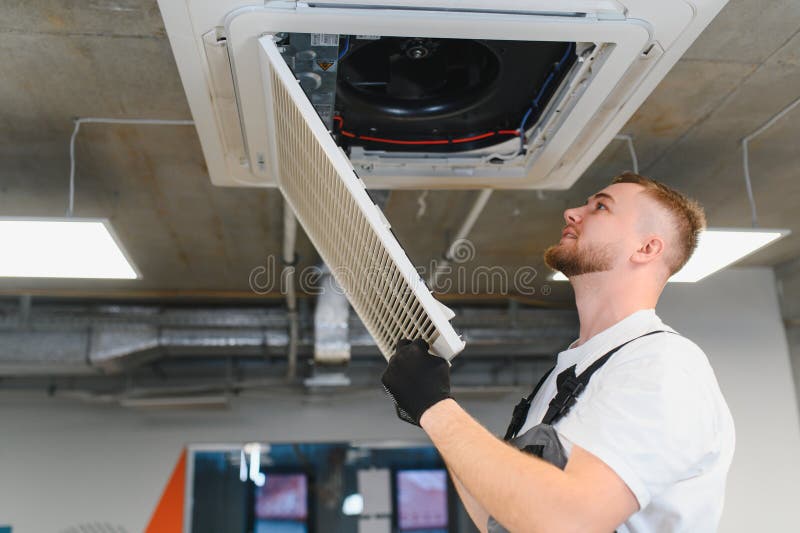
Moisture Carryover from Cooling Coils: Filter Signs That Point to a Drainage Problem
Wet filters in an air handling unit are often blamed on the filter media first, but that is not always where the problem starts. If a filter is getting damp, discoloured or breaking down near the coil section, the real cause may be moisture carryover from the cooling coil or a drainage fault in the drip tray below it.
For mechanical contractors and facility managers, the key is knowing where to look and what to rule out. A careful inspection can save time, avoid repeat changeouts, and point the maintenance team to the actual source of the water.
Why a wet filter is not always a filter problem
A filter is designed to capture particles carried in the airstream. It is not designed to handle liquid water, so once moisture reaches the filter face, the media can swell, sag, or trap debris in a way that makes the issue look like a failed filter.
In a cooling coil section, moisture can get into the air stream in a few different ways.
- •Water droplets can be carried off the coil surface when face velocity is too high.
- •A blocked or poorly pitched drip tray can let water pool and re-entrain into the airflow.
- •A damaged seal, gap, or misaligned component can let water bypass the intended drainage path.
- •Condensate lines can back up and cause overflow inside the unit.
If the filter is wet on the coil side, that pattern often suggests the source is upstream rather than at the filter rack itself. If the filter is only damp on one area, that can also point to uneven airflow, splash-off, or a localised leak.
Signs that point to moisture carryover
A visual inspection usually tells more than a quick filter swap. Look for the pattern of the wetting, not just the fact that the filter is damp.
Signs on the filter itself
- •Wetting concentrated on the upstream face rather than the full depth of the media.
- •Dirty, darkened, or matted sections that line up with the coil or tray area.
- •Edge wetting near one corner, suggesting bypass, splash, or a local drainage issue.
- •A sagging filter frame or distorted media caused by liquid loading.
- •Debris stuck to the filter in streaks or patches rather than an even dust layer.
Signs in the unit
- •Visible water droplets on the downstream side of the cooling coil.
- •Standing water in the drip tray.
- •Rust, scale, or biofilm in the tray or around the drain outlet.
- •Evidence of splash marks on nearby panels or insulation.
- •Condensate lines that are blocked, damaged, or not continuously falling to the drain point.
If the problem keeps returning after filter replacement, that is another clue that the filter is only showing the symptom.
Inspection points to confirm a drainage problem
When a wet filter is reported, start at the coil section and work through the drainage path in order. This helps separate coil carryover from a simple rack seal issue or a damaged filter frame.
Check the cooling coil face and airflow conditions
Excess face velocity across the coil can strip droplets from the fins and carry them downstream. That is more likely when the unit is operating outside its intended range, or when the coil is dirty and air is being pushed through unevenly.
Inspect for:
- •A coil face loaded with dust, lint, or grease that may affect air distribution.
- •Signs of uneven airflow, such as wetting on one side more than the other.
- •Loose or damaged baffles, vanes, or seals around the coil section.
Check the drip tray
The tray should catch condensate and move it cleanly to the drain. If it is damaged, incorrectly pitched, or blocked, water can pool and become available to the airstream again.
Inspect for:
- •A tray that does not appear level or correctly pitched to the outlet.
- •Corrosion, dents, cracked sealant, or poor tray alignment.
- •Debris in the tray that restricts the flow path.
- •Water residue or staining that shows the tray has been holding water.
Check the drain line and outlet
A clear tray is no use if the condensate cannot leave the unit. Drainage faults often show up as overflow, back-up, or intermittent wetting that appears only when the system has been running for a while.
Inspect for:
- •Blocked drain strainers or fittings.
- •Kinks, poor falls, or air locks in the condensate line.
- •Water leaking from unions, joints, or connection points.
- •A drain outlet that is partially submerged or restricted.
Check the filter rack and seals
If the drainage path is sound, the next step is to look at whether water is getting around the intended air path and onto the filter surface.
Inspect for:
- •Gaps at the frame, retaining clips, or gasket line.
- •Filters fitted in the wrong orientation or not seated fully.
- •Damage to the holding frame that may let splash or condensate contact the filter.
- •A filter size mismatch that leaves an opening for air and moisture bypass.
If you need to confirm the size, use the equipment drawings or measure carefully before ordering. Our guide on how to measure an air filter can help avoid fitment issues.
What to do before replacing the filter again
A replacement filter may be necessary, but it will not solve a drainage issue on its own. Before fitting a new one, it is worth checking the system condition so the same fault does not return.
- •Dry and clean the coil section if contamination is affecting drainage or airflow.
- •Clear the tray and drain line.
- •Repair or reseal damaged tray sections.
- •Correct any fitment issues at the filter rack.
- •Check whether the unit is being operated within the intended airflow range.
If pressure gauges are fitted, monitor pressure drop as part of your routine checks. Inspection frequency depends on the system, the site conditions, and the dust load, and you should follow the filter and equipment manufacturer instructions.
For sites with broader ventilation obligations, confirm requirements with the mechanical services engineer or building owner, particularly where AS 1668.2:2024 is part of the design or compliance framework.
Choosing the right filter after a moisture issue
Once the cause of the wetting has been fixed, the next filter should suit the equipment and site conditions. In some cases, a sturdier frame, better gasket sealing, or a different filter construction can help the unit tolerate normal operating conditions more reliably.
At Total Air Filtration, we supply and make filters for commercial and industrial applications, including our products, custom air filters, and support through filter servicing and commercial filter servicing.
Some filters are designed to be washable - check the product instructions before cleaning or reusing them. If the existing setup is repeatedly exposed to water carryover, it may be worth discussing the coil section and filter arrangement together rather than treating them as separate problems.
Get help with the source, not just the symptom
If wet filters keep appearing near a cooling coil, the filter is often telling you there is a drainage, carryover, or fitment issue upstream. The fastest fix usually comes from checking the coil, tray, drain line, and rack as one system.
Total Air Filtration is a family-owned air filter manufacturer and supplier in Hillcrest, Brisbane QLD, established 2009. For help selecting the right filter or arranging a replacement, call 07 3800 3448 or request a quote. You can also contact us for practical advice on the next step.
Written by
The Total Air Filtration Team
General information only — always follow the instructions for your filter and system. Have questions about this article? We're here to help.