
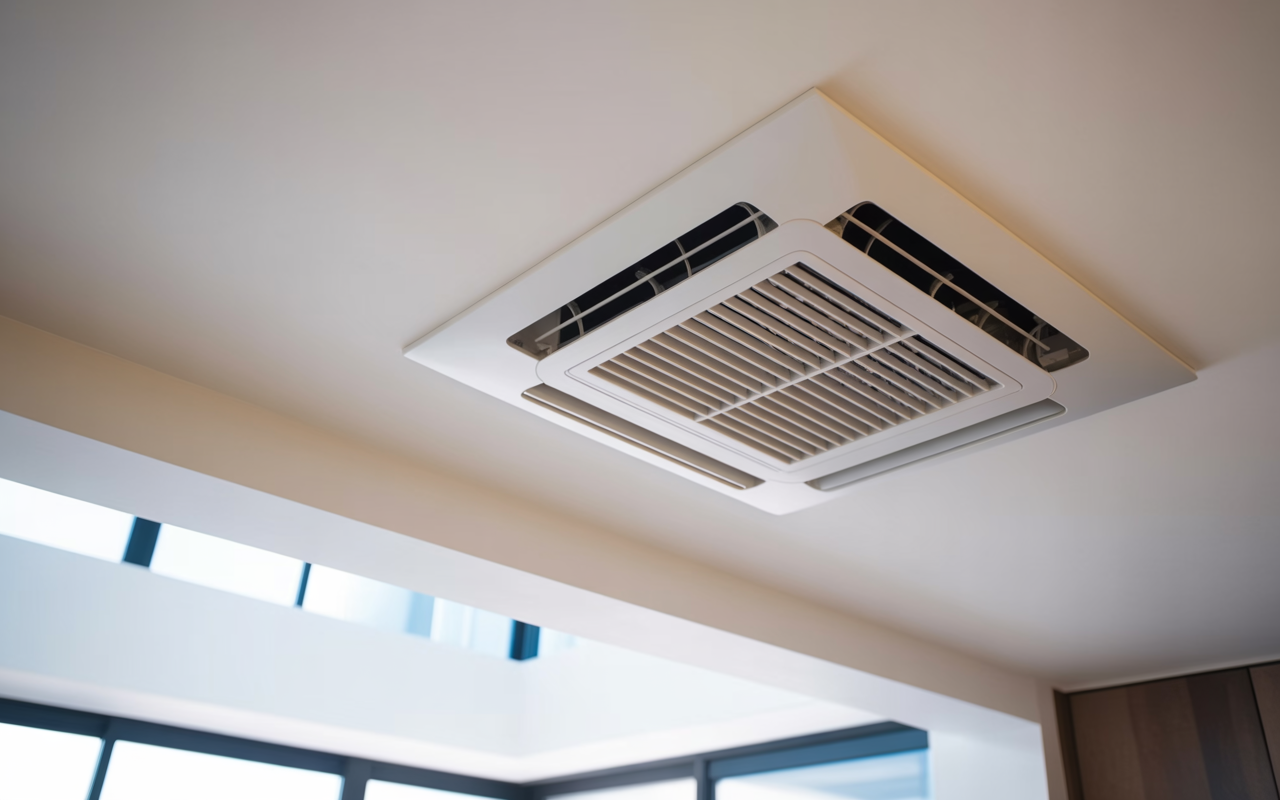
Dust Puffs from Ceiling Vents After Filter Replacement: What Went Wrong
If you noticed dust puffing from a ceiling vent soon after a filter replacement, something in the fit, seal or installation has likely gone wrong. In ducted systems, air should travel through the filter and into the space cleanly; when the filter is not seated properly, air can bypass it and carry loose dust back out through the grilles.
The good news is that this problem is often traceable. With a careful inspection of the filter, frame, housing and surrounding ductwork, most homeowners and property managers can narrow down the cause before the next change-out.
What dust puffs usually mean
A visible dust puff at a ceiling vent is often a sign that air is moving through an unintended path. That path may be around the filter edge, through a gap in the frame, or across a loose access panel where pressure changes stir up debris.
This is different from ordinary dust settling in a room. If the puff appears right after a filter change, look first at the installation rather than assuming the system is simply “bringing up” old dust.
Common clues include:
- •Dust appearing only after the system starts up
- •A stronger puff at one particular vent or zone
- •Rattling, whistling or air noise near the filter access point
- •Dust on the downstream side of the filter frame
- •A filter that looks bent, bowed or not fully clamped in place
If you are managing a building, the issue may also affect multiple tenancies or spaces if the ducted system serves several areas.
Poor seating is one of the most common causes
A filter can be the correct type and still fail if it does not sit properly in the holding frame. Even a small gap can allow air to bypass the media and carry dust downstream.
Signs the filter is not seated correctly
- •The filter is sitting on one edge rather than flat in the frame
- •Clips, rails or retainer bars are not fully engaged
- •The access door closes, but does not compress the gasket evenly
- •The filter can move or rattle when the system starts
- •The seal looks pinched, twisted or compressed only in one corner
In ducted systems, filters are often installed in tight spaces, and it is easy to rush the final fit. If the filter is not seated squarely, the system may still run, but dust can escape around the perimeter and end up at ceiling vents.
Wrong dimensions can create hidden bypass paths
A filter that is even slightly the wrong size may seem close enough at a glance, but the difference can matter. If the filter is too small, air can travel around the edges. If it is too large, installers may force it into place, damaging the seal or causing the frame to distort.
This is especially important when replacing an old filter with a “close match” rather than an exact fit. Nominal sizes can be confusing, and some housings have specific dimensional tolerances that must be matched.
If you are unsure, measure the existing filter and the housing opening carefully before ordering a replacement. Our guide on how to measure an air filter is a useful starting point, especially where the old filter has compressed or warped over time.
Why a near-match can still fail
- •The gasket does not contact the frame evenly
- •The filter media bows inward under airflow
- •The filter slides during operation
- •A gap opens where the filter meets the housing rail
- •Dust builds up on the bypass side and is later blown into the system
For many applications, it is better to order the correct dimensions than to make a substitute work. If the system is unusual or the original unit is no longer available, custom air filters may be the safer option.
The frame, gasket and access panel matter too
It is easy to focus on the filter itself, but the surrounding parts are just as important. A damaged frame, worn gasket or loose access panel can let dust bypass the filter even when the replacement element is correct.
Check for:
- •Cracked or flattened gasket material
- •Corrosion or dents in the filter frame
- •Warped access doors that no longer close flush
- •Missing fasteners or latches
- •Dust trails that show where air is escaping
In some systems, the panel is removed for maintenance and not resealed properly afterwards. If the housing relies on a gasket or foam seal, any gap can act like a shortcut for air and dust.
If the installation includes ductwork or mechanical plant serving a shared building, the site requirements should be confirmed with the mechanical services engineer or building owner. For ventilation systems, AS 1668.2:2024 may be relevant, but the exact setup and maintenance approach should always match the site conditions.
Installation mistakes that are easy to miss
A dust problem after filter replacement is often caused by small installation errors rather than a major fault. These can be missed during a quick change-out, especially in plant rooms, ceiling spaces or hard-to-reach housings.
Common installation issues
- •Installing the filter in the wrong airflow direction
- •Leaving packaging material, tape or debris inside the housing
- •Not removing the old filter completely before fitting the new one
- •Reusing a damaged seal instead of replacing it
- •Over-tightening or under-tightening the access door
- •Fitting a filter type that does not suit the housing design
If the system uses a rigid or deep pleat style filter, poor handling can also deform the media or frame. Once the shape is compromised, sealing can be affected immediately.
Some filters are designed to be washable, but only if the product instructions say so. Washing a filter that is not intended for cleaning can damage the media or seal and create more bypass risk.
How to check the problem step by step
Before ordering another filter, take a careful look at the current installation and compare it with the manufacturer instructions for the filter and the equipment.
A practical check includes:
- •Confirming the filter dimensions match the housing opening
- •Checking the airflow direction arrow is installed correctly
- •Inspecting the gasket or seal for compression and continuity
- •Making sure the filter sits flat and cannot rock or slide
- •Examining the access panel for gaps, missing screws or poor latch engagement
- •Looking for dust trails around the frame, which can show the bypass route
If the system has pressure gauges, monitor pressure drop where fitted and compare readings with normal operating conditions for that site. A sudden change after a replacement can point to a blocked filter, incorrect fit or sealing problem.
If the issue is unclear, it is worth arranging a proper inspection rather than repeatedly changing filters. Our filter servicing and commercial filter servicing pages explain how we support different systems and site types.
When to replace the filter again or change the setup
Not every dust puff means the filter itself is faulty. In many cases, the fix is to correct the installation, housing or filter selection rather than simply swapping in another identical unit.
Consider replacing or reworking the setup if:
- •The filter does not match the housing dimensions
- •The seal or gasket is worn, damaged or missing
- •The frame is bent or no longer holds the filter squarely
- •Dust appears at the same vent after more than one replacement
- •The access panel cannot be closed tightly and evenly
Where a standard replacement will not sit securely, a different construction or a made-to-size solution may be the better option. For property managers handling multiple sites, a consistent approach to measurement and procurement can prevent repeat callouts.
If you are also reviewing the wider filtration setup, see our products for the types of filters we supply across residential and commercial applications, or browse the industries we supply to see where tailored fit matters.
Need the right fit for the system?
Total Air Filtration is a family-owned air filter manufacturer and supplier in Hillcrest, Brisbane QLD, established in 2009. If dust is escaping after a change-out, we can help supply or make the right filter for the housing and application.
Call 07 3800 3448 or request a quote. If you are unsure what the system needs, contact us and we can help you work through the dimensions, fit and sealing details.
Written by
The Total Air Filtration Team
General information only — always follow the instructions for your filter and system. Have questions about this article? We're here to help.