
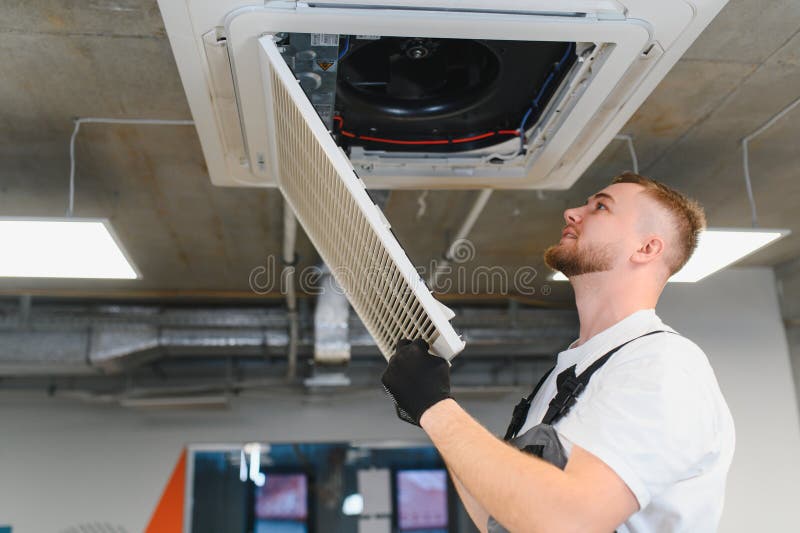
What to Record After Each Filter Inspection or Change-Out
A good filter record does more than confirm the job was done. It gives facility managers and mechanical contractors the evidence they need to track pressure drop trends, spot recurring dust issues and understand whether a system is performing the way it should.
The most useful records are the ones that are consistent, practical and easy to review later. If you service multiple sites or manage different HVAC systems, the notes you keep after each inspection or change-out can save time when the same fault appears again.
Start with the basics that identify the filter and the location
Every record should clearly show where the filter was installed and exactly what was fitted. That sounds simple, but it becomes essential when you are comparing one visit with the next or trying to match the filter to the equipment manufacturer’s requirements.
Record the following:
- •Site name and building area
- •Plant room, AHU, rooftop unit or other equipment location
- •Unit or asset ID, if one is used on site
- •Filter type and size
- •Quantity of filters removed and installed
- •Brand or supplier, where relevant
- •Any part numbers, model references or product codes on the frame or label
If the site uses non-standard sizes or special housings, it is also worth noting the orientation, seal type and any fitment details. If you need replacement help, our products and custom air filters can be useful reference points when you are matching an existing setup.
Note the condition of the old filter before disposal
The condition of the removed filter often tells you more than the schedule ever will. A filter that looks heavily loaded with dust may point to high airborne dust levels, a poor pre-filter arrangement or an issue with the surrounding environment. A filter that looks unevenly loaded may suggest bypass, poor sealing or airflow distribution problems.
Useful observations include:
- •Visible dust loading across the media
- •Dust concentrated on one side, corner or edge
- •Damage to the frame, gasket, media or holding clips
- •Wetting, staining or signs of moisture exposure
- •Corrosion on the frame or housing components
- •Odour when the filter was removed
- •Evidence of dust bypass around the filter face or edges
If the media is torn, collapsed or distorted, note where the damage appeared and whether it may have been caused by handling, airflow, overloading or a housing fault. For some filters, the product instructions may allow washing, but only if the product is specifically designed for that purpose.
Record pressure drop and airflow-related observations
If pressure gauges or differential pressure monitors are fitted, record the reading before change-out and after installation of the new filter. These numbers are one of the best ways to track how quickly a filter loads under actual site conditions.
Include:
- •Gauge reading before removal
- •Gauge reading after installation
- •Any visible change in airflow at the grilles, diffusers or unit
- •Fan noise or vibration that seemed unusual
- •Whether the gauge appeared stable, fluctuating or possibly faulty
Pressure readings are most useful when they are paired with comments about the site conditions at the time. For example, note if the building was under heavy occupancy, if nearby construction was underway, or if the plant room had unusual dust levels.
Inspection frequency depends on the system, site conditions and dust load. Follow the filter and equipment manufacturer instructions, and monitor pressure drop where gauges are fitted rather than relying on guesswork.
Describe the site conditions that may have affected the filter
A filter record is far more useful when it includes the conditions around the system, not just the filter itself. That helps you link the change-out pattern to the actual environment the equipment is operating in.
Note anything that could influence loading, such as:
- •Nearby demolition, sanding, cutting or other dusty work
- •Construction traffic or unsealed access roads
- •Smoke, fumes or cooking odours in the area
- •High outdoor dust, pollen or coastal air exposure
- •Temporary changes in occupancy or operating hours
- •Any water ingress, leaks or condensation near the unit
- •Evidence of mould growth in the housing or ductwork, if visible
These notes can be very helpful when a site starts needing attention more often than expected. They also help you decide whether a different pre-filter stage, better sealing or a more suitable filter grade may be needed.
If you need to check whether an existing filter size is being installed correctly, how to measure an air filter can help with the basics.
Record anything unusual with the housing, seals or installation
A clean new filter can still perform poorly if the housing, seals or holding system are not right. That is why installation notes matter as much as the filter condition itself.
Include observations about:
- •Missing or damaged gaskets
- •Bent frames, clips or retaining hardware
- •Gaps around the filter bank
- •Signs of bypass dust on the housing or downstream surfaces
- •Poor fit, loose seating or uneven compression
- •Damaged access doors or latches
- •Any work needed to improve the seal or alignment
If the unit is part of a ventilation system subject to project requirements, confirm those requirements with the mechanical services engineer or building owner. In some cases, AS 1668.2:2024 may be relevant to the overall ventilation arrangement, but the site’s actual requirements should always be confirmed for that specific installation.
Keep the notes useful for the next visit
The best record is one someone else can understand months later. Short, specific notes are better than a vague statement like “filter changed, all good”. If there was a problem, write down what you saw and what was done about it.
A practical record might also include:
- •Date and time of inspection or change-out
- •Name of the technician or contractor
- •Whether the unit was isolated during the work
- •Cleanup completed after the change-out
- •Disposal method for the old filter
- •Follow-up action required, if any
- •Photos of the old filter, the housing and the installed replacement
Photos can be especially useful when comparing repeated issues. A picture of dust bypass, a damaged gasket or a heavily loaded corner often makes the pattern easier to understand than text alone.
Use the record to spot trends, not just complete the job
Once you have a few service entries, the real value of the record starts to show. You may see the same unit loading up faster than others, or a particular area of the building showing repeated contamination. That tells you something about the system, the site or the way the filter is being installed.
Look for patterns such as:
- •The same housing showing repeated seal problems
- •Filters loading unevenly in the same location
- •Pressure drop rising faster after nearby site works
- •Dust or odour complaints linked to one area of the building
- •Repeated damage that may point to handling or access issues
For facility managers, this information helps with maintenance planning and contractor communication. For mechanical contractors, it supports better diagnosis and makes it easier to recommend the right filter or service approach for the site.
If a site needs a tailored solution, filter servicing and commercial filter servicing can help with ongoing maintenance planning, and industries we supply shows the range of environments we work with.
Keep a simple system that works on site
Your record does not need to be complicated. A consistent checklist, a digital maintenance log or a site maintenance app can all work well as long as the same key details are captured every time. The important part is that the information is accurate, easy to retrieve and written in a way that helps the next person make a better decision.
If you are unsure which filter is right for a housing, or you need a replacement that matches an unusual size or specification, Total Air Filtration is a family-owned air filter manufacturer and supplier in Hillcrest, Brisbane QLD, established 2009.
For practical help with filter selection, replacement or custom sizing, call 07 3800 3448 or request a quote.
Written by
The Total Air Filtration Team
General information only — always follow the instructions for your filter and system. Have questions about this article? We're here to help.