
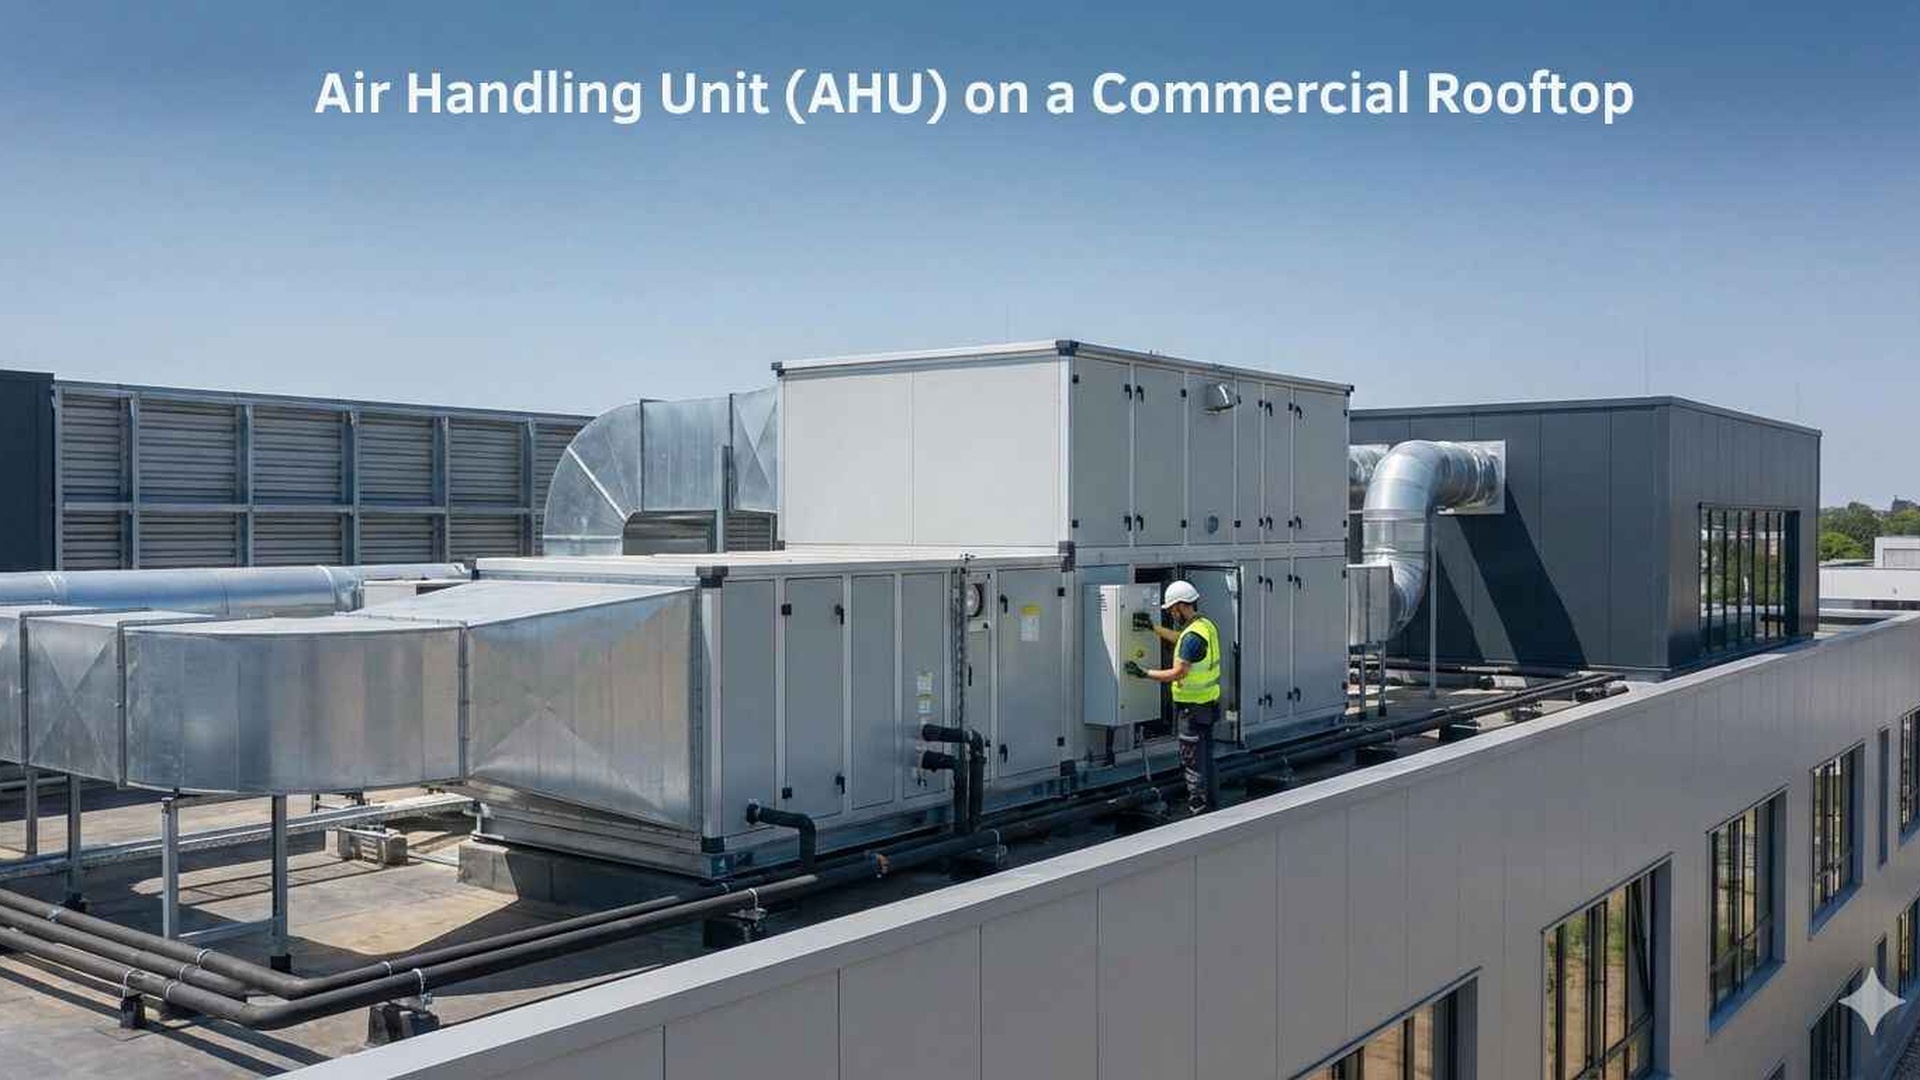
Cleaning the Filter Housing After a Heavy Dust Load: What to Wipe, Vacuum and Inspect
When a heavily loaded filter comes out, the job is not finished. Dust left in the housing, on the rails or behind access panels can affect the next filter change, create bypass risk and make the system harder to inspect next time.
This guide is for mechanical contractors and facility managers who want a practical, site-safe approach to cleaning the filter chamber after removal. It focuses on what to wipe, what to vacuum, and what to inspect before the next filter is installed.
Start with a clean, safe work area
Before touching the housing, make sure the system is isolated in line with site procedures and the equipment manufacturer’s instructions. If the unit has multiple stages, confirm which section you are opening so you do not disturb adjacent filters or components unnecessarily.
A good post-removal clean starts with preparation:
- •Use suitable PPE for the site conditions and the type of dust present.
- •Contain loose dust before opening the access door further.
- •Have a vacuum with an appropriate filter and attachments ready.
- •Keep rags, a soft brush and a non-abrasive cleaner on hand if the site permits wet wiping.
- •Protect the surrounding area so dislodged dust does not spread into the plantroom or ductwork.
If the dust load is unusually heavy, treat the housing as contaminated until it has been cleared. Some sites will also require coordination with the mechanical services engineer or building owner before the unit is returned to service.
What to vacuum first
Vacuuming is usually the safest first step because it removes loose dust without driving it deeper into seams, corners or seals. Start at the top and work down so dust falls into areas you have not yet cleaned.
Focus on these areas first:
- •The filter tracks and side rails
- •The bottom ledge or sump beneath the filter bank
- •Corners where dust accumulates behind brackets or stiffeners
- •Around access door frames and inner edges
- •Any nearby surfaces where dust may have settled during removal
Use a nozzle that can reach the edges without damaging the frame, gasket surface or coil behind the filter bank. If the housing has narrow rails, use a crevice attachment rather than forcing a stiff tool into the channel.
Avoid using compressed air to blow dust out of the housing. That may move contamination into the duct, the fan section or the surrounding room, and it can make it harder to verify that the housing is actually clean.
What to wipe, and what to leave alone
After vacuuming, wipe only the surfaces that are meant to be cleanable and that can tolerate a damp cloth or approved cleaner. The aim is to remove remaining fine dust film, not to saturate the enclosure.
Good candidates for wiping include:
- •Flat ledges and shelves inside the housing
- •Door frames and contact surfaces
- •Smooth metal surfaces around the filter bank
- •Accessible gasket seating areas, if the design allows cleaning without damage
- •Handles, latches and external touch points
Use a lint-free cloth where possible. If the site allows a damp wipe, keep the cloth only lightly moistened so liquid does not run into seams, insulation or electrical components. Change cloths often so you are not smearing dust around.
Do not scrub painted surfaces aggressively, and do not use cleaners that leave a slippery residue on gasket landings or rails. If a surface is coated, lined or insulated, check the equipment manufacturer’s instructions before using any chemical cleaner.
Some filters are designed to be washable - check the product instructions before deciding whether a removed filter element can be cleaned or must be replaced. For most heavy dust loads, the housing clean-up is separate from the filter replacement decision.
Inspect the rails, ledges and seals
A heavy dust load often reveals wear or movement points that are easy to miss during a routine change-out. Once the loose dust is gone, inspect the housing for anything that could cause poor seating, bypass or difficult installation next time.
Look closely at:
- •Rails that are bent, loose or clogged with hardened dust
- •Ledges that have dents, corrosion or uneven buildup
- •Gasket seats that are damaged, contaminated or no longer flat
- •Door seals that are cracked, compressed or out of position
- •Clips, clamps and retainers that no longer hold the filter squarely
- •Fasteners that have loosened with vibration
If the housing uses sliding tracks, run a clean cloth along the channel to confirm there is no grit left behind. Even a thin line of dust in the wrong place can stop a filter from fully seating.
For any system that uses deep pleated, panel or bag filters, take note of how the filter was removed. If it was difficult to extract, that may point to frame distortion, a warped track or a build-up of debris in the side guide. Repeating the same issue can shorten the time before the next service becomes messy again.
Check for hidden dust and bypass points
Some of the most important inspection points are not obvious until the housing is empty. Stand back and look at the whole section, then check the details where dust tends to hide.
Pay attention to:
- •The upstream face of the housing where dust may have built up around the frame
- •Joints where the housing sections meet
- •Corners behind access brackets or support angles
- •Penetrations for wiring, probes or drain points
- •Any visible daylight around the filter seating area when the door is closed
If the unit has a pressure gauge or differential pressure monitoring, note the reading before and after the service if that is part of the site procedure. Pressure drop monitoring can help show whether a filter was loaded as expected, but it should be considered alongside visual inspection and the manufacturer’s instructions.
For systems designed to meet site ventilation requirements, including arrangements aligned with AS 1668.2:2024, confirm any cleaning or reassembly expectations with the mechanical services engineer or building owner before closing up the unit.
Reassemble carefully so the next filter seats properly
A thorough clean is only useful if the new filter sits correctly. Once the housing is dry and inspected, reinstall the filter according to the product instructions and the system’s airflow direction.
Before closing the access door, check that:
- •The frame is square in the rail or gasket seat
- •No debris is trapped under the filter edge
- •Clips and retainers are engaged correctly
- •The access door closes without forcing the seal
- •There is no visible gap at the frame or around the perimeter
If you are using a custom size, confirm the measurements before ordering the replacement. A filter that is close but not exact can create unnecessary sealing problems. If you need help measuring, see how to measure an air filter, or review our products to match the housing and application.
If the service reveals damaged rails, recurring dust leakage or an awkward filter fit, it may be time to look at a different specification or format for the site. In those cases, custom air filters may be the better option.
When to call in support
If the housing is heavily fouled, difficult to access, or showing signs of corrosion, repeated bypass or physical damage, it can be more practical to bring in a specialist filter servicing crew. The same applies when the system has multiple stages, limited access, or a dust type that needs extra care during clean-up.
Total Air Filtration is a family-owned air filter manufacturer and supplier in Hillcrest, Brisbane QLD, and we work with mechanical contractors and facilities across a wide range of applications. If you need help selecting the right replacement filters or want advice on a tricky housing, call 07 3800 3448 or request a quote.
You can also explore filter servicing, commercial filter servicing or contact us if you want to talk through the next step before the system is closed up again.
Written by
The Total Air Filtration Team
General information only — always follow the instructions for your filter and system. Have questions about this article? We're here to help.