
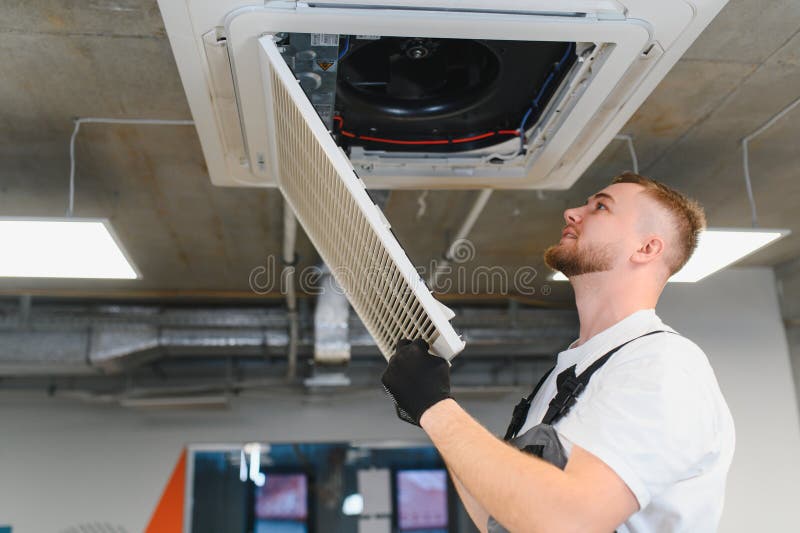
Avoiding Reorder Mistakes When the Old Filter Was Installed Backwards
If you have ever pulled out an old filter and realised it was installed the wrong way round, you are not alone. It can make reordering confusing, especially when the printed labels are faded or the frame has no obvious markings.
The good news is that you can still identify the correct replacement by checking a few practical details on the used filter and the equipment it came from. The goal is to match the intended setup, not simply copy the mistake.
Why a backwards-installed filter causes reorder confusion
A filter installed backwards may still look like it fits, but the visible clues can be misleading when it is time to order again. If you only measure the old filter without checking airflow direction and frame details, you may end up repeating the error.
This is especially common when:
- •the filter has no clear arrow or the arrow is hard to read
- •the old filter has been in service for a long time and markings have faded
- •the filter was trimmed, bent or forced into place
- •someone assumed the dirty side must always be the side facing the airflow
Before placing a reorder, work from the equipment and the intended airflow path, not just the worn-out part in your hands.
Start with the air handler or grille, not the old filter alone
The quickest way to avoid a repeat mistake is to inspect the housing, return grille or filter rack first. Look for the direction that air enters the unit and the side where the filter sits before the fan or coil.
Useful clues include:
- •arrows on the cabinet, door or filter track
- •the position of the fan, motor or coil in relation to the filter slot
- •the side that collects heavier dust build-up
- •any retaining clips, rails or stops that suggest a one-way fit
If the equipment has a manual, check the original installation notes or maintenance instructions. For commercial systems, site requirements should be confirmed with the mechanical services engineer or building owner, especially where ventilation design or access arrangements matter. Where relevant, AS 1668.2:2024 may also be part of the wider ventilation discussion, but the filter arrangement should still be confirmed against the actual equipment.
How to identify the correct orientation on a used filter
A used filter can still tell you a lot about how it was meant to sit. Even if it has been installed backwards, you can usually work out the intended direction by checking a few features.
Look for airflow arrows or printed markings
Many filters have an arrow on the frame showing airflow direction. If you can see one, note which side the arrow points towards. On some products the label also shows the size, media type or product code.
If the markings are faded:
- •photograph both sides in good light
- •wipe away loose dust carefully so printed information is easier to read
- •check for embossed arrows, stamped text or stickers on the frame edges
Do not rely on “dirty side” alone, because a backwards installation can reverse the visible dust pattern.
Check the construction of the filter
The frame and media shape can also help. For example, some pleated filters have a supported side that should face the correct airflow direction. Some panel filters have a wire support, reinforced edge or seal that is designed to sit on one side of the rack.
Pay attention to:
- •which side has the support mesh or backing
- •where the seal is located
- •whether the pleats are supported or open on one side
- •any clips, tabs or folded corners that suggest a specific orientation
If the filter media is damaged, do not assume the visible wear tells the full story. Damage may have occurred because the unit was run backwards or because the filter was incorrectly seated.
Measuring the right dimensions so the replacement fits properly
Once you know the intended orientation, measure the filter carefully so the next order matches the holder, not just the old part.
For accurate sizing:
- •measure the length, width and depth of the filter frame
- •measure the opening in the rack or slot as well if possible
- •check whether the filter is nominal size or actual size
- •note any gasket, lip, frame flange or special edge profile
A filter that looks “close enough” can still leak around the edges if it is too small, too shallow or shaped differently from the original setup. If you are unsure how to record measurements correctly, our guide on how to measure an air filter can help.
If the old filter was forced in backwards, also inspect the housing for:
- •bent retaining rails
- •torn seals
- •loose clips or missing stops
- •signs that the filter has been rubbing on the frame
In some cases, the correct replacement is not just a size match but a proper match to the style of frame and seal used by the equipment.
When the old filter has been altered, damaged or labelled wrong
Sometimes the used filter is not a reliable sample. It may have been trimmed, crushed, re-used, or marked incorrectly by a previous installer.
In those cases, use the equipment and site conditions to narrow down the right specification:
- •check the existing rack dimensions
- •inspect nearby filters in the same system if there are multiple identical units
- •note whether the filter is for a return air grille, fan coil unit, ducted system or another application
- •record any product codes, media descriptions or frame material you can still read
If the filter is for a specialist application, a custom size may be the safest option. Our custom air filters page explains how a made-to-measure filter can suit unusual frames or non-standard housings.
For ongoing care, filter inspection frequency depends on the system, site conditions and dust load. Follow the filter and equipment manufacturer instructions, and monitor pressure drop where gauges are fitted. If the unit is part of a larger maintenance program, filter servicing can also help keep the records accurate for the next reorder.
Practical steps before you place the next order
Before you buy again, use a simple check against the equipment and the old filter together.
Make sure you have:
- •the correct airflow direction confirmed from the unit or rack
- •the full filter dimensions, including depth and frame type
- •any visible product code or media description
- •the mounting style, such as panel, pleated, bag or other format
- •any gasket, seal or edge detail that affects fit
If the filter is used in a commercial setting, keep the maintenance notes with the order record so the next person does not have to guess. If the system is part of a larger facility, commercial filter servicing may be useful for keeping the specification and replacement history aligned.
For general product browsing, see our products. If you work across several buildings or property types, you may also find our industries we supply page helpful when comparing common filter applications.
Need help matching the correct filter setup?
If the old filter was installed backwards and you want to avoid ordering the wrong replacement, Total Air Filtration can help you identify the correct orientation, size and filter style. We are a family-owned air filter manufacturer and supplier based in Hillcrest, Brisbane QLD, and we can assist with standard and made-to-measure options.
Call 07 3800 3448 or request a quote when you are ready, and we will help you work out the right filter for the intended setup.
Written by
The Total Air Filtration Team
General information only — always follow the instructions for your filter and system. Have questions about this article? We're here to help.