
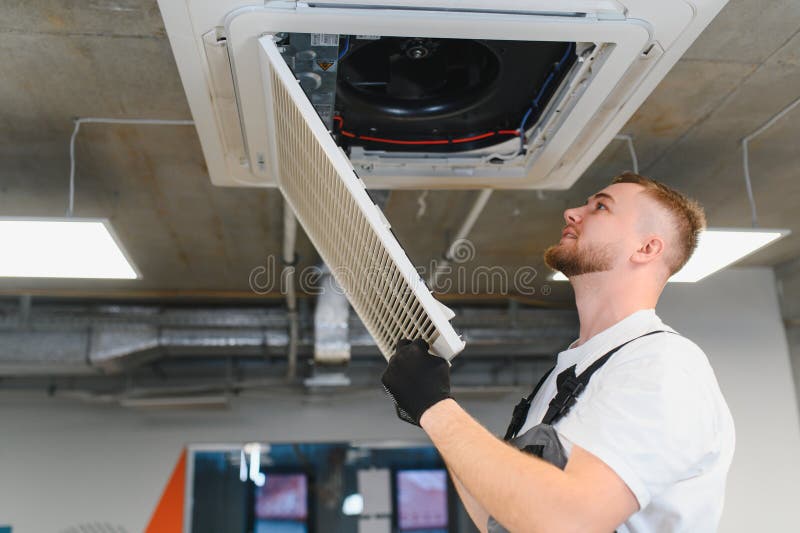
The Best Photo Angles for Reporting Damaged Air Filters to Clients
When a filter is damaged, a few well-taken photos can make the difference between a quick approval and a long back-and-forth with a client. The aim is not just to show that there is a problem, but to show exactly where it is, how severe it looks, and how it affects the filter’s fit and condition.
For mechanical contractors and facility managers, clear reporting helps everyone make better decisions about replacement, remedial work and site follow-up. Below are the photo angles and framing techniques that make air filter inspection reports easier to read and act on.
Start with a photo that sets the scene
Begin with a wider shot that shows where the filter sits in the system. This gives the client context before you zoom in on the damage.
A good context photo should show:
- •the filter in its frame, rack or housing
- •surrounding components if they help explain access or airflow path
- •any obvious dirt loading, distortion or sealing issues
- •the orientation of the filter bank, if relevant
Stand far enough back to show the full opening, then take the shot straight on where possible. If the filter is behind grilles, access doors or framing, include enough of the surroundings so the reader can understand the location without needing to visit the site.
If you are preparing a broader inspection report, pairing this with a note on system condition and the site environment can be useful. For ongoing maintenance planning, our filter servicing and commercial filter servicing pages may also help frame the next steps.
Photograph tears so the damage is unmistakable
Tears can be missed in a rushed inspection if the image is taken too close or at the wrong angle. The best approach is usually to take at least two photos: one that shows the tear in context, and one close-up that captures its shape and edges.
For tears in filter media:
- •photograph the full face of the filter first
- •move closer and angle the camera so the tear is visible against the surrounding media
- •include a finger, pen or other non-obtrusive reference only if it helps show scale and does not hide the damage
- •make sure light falls across the tear, not straight into the lens
A side angle can be especially useful if the tear has lifted fibres, ripped pleats or a split that runs along a fold. Side lighting often makes these defects easier to see than a direct flash.
If the damage appears near the frame edge, capture both the tear and the nearby frame so the client can see whether the issue is confined to the media or extends into the structure.
Use angles that reveal sagging and deformation
Sagging is easiest to spot when the camera is not perfectly centred on the filter face. A straight-on photo can flatten the appearance of bowed media, while a slight off-centre angle can show depth and distortion more clearly.
When photographing sagging filters:
- •take one front-on image for reference
- •take one image from slightly above or below to show the profile of the sag
- •if safe, photograph the filter from the side to show droop between support points
- •include the surrounding frame so the amount of bowing is visible in relation to the housing
If the filter has collapsed inward, sagging can sometimes be mistaken for normal loading in a flat photo. A diagonal angle often makes the difference between a vague report and a clear one.
For pleated filters, focus on whether the pleats have started to lean, fold over or flatten unevenly. For panel filters, show whether the media is pulling away from the frame or dipping toward the centre.
Show bypass marks with light, contrast and framing
Bypass marks are one of the most important details to document because they can show that air has passed around the filter rather than through it. These marks may appear as dust tracks, clean streaks, dirt edges or worn sealing lines around the frame or gasket.
To capture bypass evidence clearly:
- •take a close photo of the frame edge, gasket line or seating surface
- •angle the camera so the dust trail or streak sits in contrast with the cleaner area around it
- •include both the filter edge and the mating surface if possible
- •avoid using flash so strongly that it washes out surface detail
If the bypass mark is faint, change position and use side lighting from the doorway, torch or work light to bring out texture. A shallow angle across the surface often shows dust trails better than a direct face-on shot.
Where the filter has shifted in the frame, include the gap or uneven seating area in the image. That gives the client useful evidence that the issue may involve installation, frame fit or a sealing problem, not just the filter media itself.
Capture frame damage from more than one view
Broken, bent or corroded frames can be easy to understate if the report only includes one image. Frame damage is best shown with a combination of overall and detail shots.
Useful angles include:
- •a front view showing the full frame in place
- •a close-up of the cracked, bent or dented section
- •a side view showing any warping, bowing or separation from the housing
- •an image of the corner if the damage is concentrated there
If the frame is twisted, a straight-on image may not show the problem clearly. Step slightly to one side so the distorted line of the frame becomes visible against the background. For corroded or damaged metal, use lighting that highlights surface pitting, flaking or edge deformation.
When the filter is missing part of its frame or the seal area is damaged, include nearby surfaces to show whether the issue may affect the fit of a replacement. If you need a replacement matched to an existing unit, how to measure an air filter can help reduce mistakes when recording dimensions.
Make the report easier to use on site and in the office
The most useful inspection photos are easy to identify later. That means each image should answer three questions: what am I looking at, where is the damage, and why does it matter?
A practical photo set usually includes:
- •one wide shot of the filter location
- •one medium shot showing the whole filter
- •one or two close-ups of each defect
- •one image that shows the issue in relation to the frame or seal
Try to keep the camera steady and take each shot at a deliberate angle rather than rapidly from several positions. If the site is dark, use a torch or work light from the side rather than relying only on flash. This often gives better texture and less glare.
It also helps to photograph the same defect from both the front and the side. That way the report can show not only what the damage looks like, but how it affects the filter’s shape, seating and integrity.
If your work involves systems governed by AS 1668.2:2024, confirm site requirements with the mechanical services engineer or building owner before making assumptions about replacement or acceptance. For specialised applications, our products and custom air filters may be useful starting points.
Final checks before you send the report
Before sending photos to a client, review them on a larger screen if possible. Look for blur, poor lighting, blocked damage and shots that do not show enough context.
A good final check is to ask whether the client could understand the problem without being on site. If the answer is no, add another angle or a clearer close-up. If the filter condition is unusual or the site layout is awkward, a short note in the report can explain what the photos are showing and what part of the system they relate to.
If the filter type or size is unclear, our team can help identify a suitable replacement or arrange a made-to-order option for your site.
Need replacement filters or help identifying the right one?
Total Air Filtration is a family-owned air filter manufacturer and supplier based in Hillcrest, Brisbane QLD, and we can help supply or make the right filters for your application. Call 07 3800 3448 or request a quote if you need support with damaged filter replacement or a better match for your system.
You can also contact us for help with sizing, product selection or site-specific requirements.
Written by
The Total Air Filtration Team
General information only — always follow the instructions for your filter and system. Have questions about this article? We're here to help.