
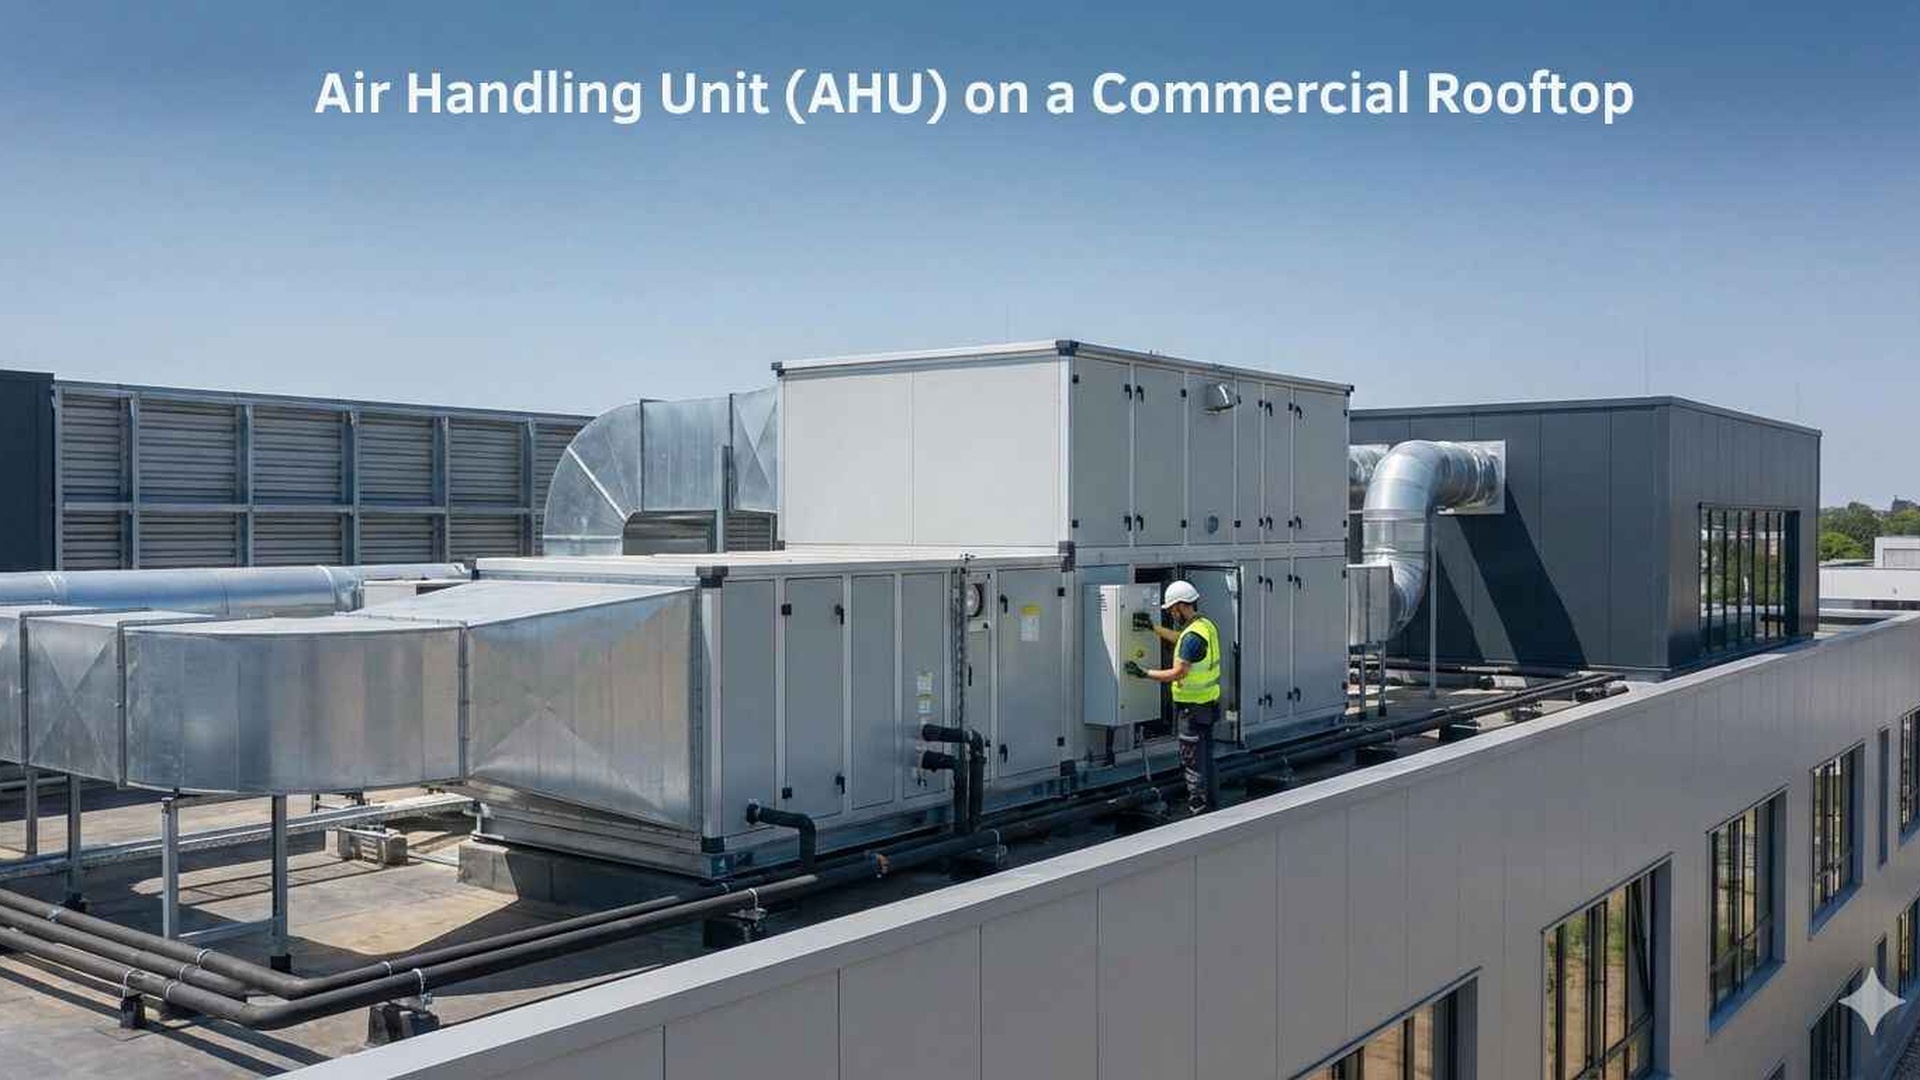
How to Isolate an AHU Before a Filter Change-Out in a Rooftop Plant Room
When a rooftop air handling unit needs a filter change-out, the job is usually straightforward only if the isolation and restart steps are planned properly. A little preparation helps avoid nuisance alarms, unexpected airflow issues and access problems once the plant room door is open and the unit is out of service.
Start with a clear shutdown plan
Before anyone touches the plant, confirm which AHU is being worked on and whether it serves a space that can tolerate a temporary shutdown. If the unit is part of a larger system, check whether there are interlocks, fire mode functions, BMS overrides or linked exhaust and relief fans that need to be managed at the same time.
A good shutdown plan should also cover who is doing what, how long the unit will be isolated, and how it will be put back into service. For rooftop plant rooms, access matters just as much as the mechanical sequence: ladders, handrails, edge protection, lighting and weather conditions can all affect the work.
Before the shutdown, gather the items you need so the unit does not stay open longer than necessary:
- •replacement filters or the correct filter media
- •tools for opening the filter access doors and securing them again
- •a torch or portable light if the plant room is dim
- •a vacuum or cleaning cloths for loose dust around the filter section
- •tags or notices for lock-out, tag-out and temporary isolation
- •the site’s BMS or plant control contact details if reset support is needed
If you are unsure about the correct filter type or size, measure the existing filter carefully before ordering. Our how to measure an air filter guide can help with the basics, or you can ask for help through contact us.
Isolate the AHU safely before opening the filter section
The most important step is to make sure the fan and any associated automatic equipment cannot start unexpectedly while the filter section is open. Isolating an AHU is not just a matter of switching it off at the wall; the unit should be secured according to site procedure and the equipment manufacturer’s instructions.
Typical isolation sequence
- •Put the AHU into the correct stop state at the local controller or BMS.
- •Confirm the fan has stopped and any run indicators are off.
- •Isolate electrical power using the designated disconnect or isolator.
- •Apply lock-out and tag-out controls where required by site procedure.
- •Verify that any linked controls, dampers or timers will not auto-start the unit.
- •Check for stored energy or moving parts that could still present a hazard.
Rooftop units can also have tricky environmental conditions. Wind can make access doors move, loose debris can shift, and weatherproof seals can be awkward to reseat if they have been forced open. Make sure the work area is stable before opening the filter chamber.
If the filters are part of a broader service plan, consider whether the job should be bundled with filter servicing or commercial filter servicing. That can help reduce the chance of missing adjacent maintenance items such as belts, drains, access seals or dirty pre-filters.
Open the filter section and check the condition of the housing
Once the unit is isolated, open the access door carefully and inspect the area around the filters before removing anything. Look for dust build-up, damaged seals, bent frames, missing clips or signs that air has been bypassing the filter bank.
A quick visual check tells you a lot about how the system has been performing. If the filters are heavily loaded on one side, that may point to poor fitment, air leakage or uneven airflow through the section. If the access door gasket is damaged or compressed flat, the replacement filter may not perform as intended unless the seal is corrected.
Things to look for while the section is open
- •damaged or missing retaining hardware
- •gaps where unfiltered air could bypass the media
- •dust trails around frame edges or door seals
- •corrosion or water staining inside the unit
- •signs of mould, moisture or pooled condensate
- •distorted filter frames that may not reseat properly
If the AHU is on a rooftop with exposed conditions, check for water entry points as well. A filter change-out is a good time to notice whether the housing needs attention from the mechanical services engineer or building owner, especially if recurring moisture is affecting filter life or system cleanliness.
Remove and replace the filters without disturbing the system
When removing used filters, handle them gently to avoid shaking loose debris back into the casing. Bag or contain the spent filters promptly so they do not contaminate the plant room or the access route.
Replace the filters with the correct size, depth and type for the unit. Some systems use panel filters, pleated filters or pocket filters, and the correct fit is just as important as the nominal rating. If you are unsure about the dimensions, check the existing filter label or refer to the manufacturer details. If a custom size is needed, custom air filters may be the right option.
A few practical points make installation easier:
- •place each filter in the correct airflow direction
- •seat the frame evenly so there are no visible gaps
- •make sure clips, retainers or tracks engage properly
- •avoid over-compressing gaskets or forcing a frame into a tight opening
- •wipe down the sealing surfaces before closing the access door
Some filters are designed to be washable - check the product instructions. If the product is not made for washing, do not try to clean and reuse it unless the manufacturer specifically says it is suitable.
Close up, re-energise and confirm the unit is behaving normally
After the new filters are installed, close and secure the access panel before removing locks or tags. Recheck that the door is fully latched and that no tools, rags or packaging have been left inside the unit.
When it is time to restart, bring the AHU back into service in the reverse order of the shutdown process. Restore power, release isolation devices under the site procedure, and then start the unit from the controller or BMS. Listen and look for anything unusual during the first few minutes of operation.
Post-start checks worth making
- •the fan starts cleanly without unusual noise or vibration
- •air is moving in the expected direction at grilles or diffusers
- •there are no alarm messages at the controller or BMS
- •the access door is still sealed and secure
- •the pressure drop reading, where gauges are fitted, is sensible for the new filter set
- •any forgotten interlocks or overrides have been cleared
Inspection frequency depends on the system, site conditions and dust load. Follow the filter and equipment manufacturer instructions, and monitor pressure drop where gauges are fitted rather than relying on guesswork alone. For systems operating under ventilation requirements, confirm site needs with the mechanical services engineer or building owner and consider the relevant expectations of AS 1668.2:2024 where applicable.
Keep the next change-out simple
A well-planned filter change-out is easier when the correct filter is specified from the start, the access method is known and the shutdown sequence is documented. That is especially true in rooftop plant rooms, where weather, access and limited space can turn a routine task into a frustrating one if preparation is poor.
Total Air Filtration is a family-owned air filter manufacturer and supplier in Hillcrest, Brisbane QLD, and we can help you source the right replacement filters or make a custom solution to suit your unit. For assistance, call 07 3800 3448 or request a quote. You can also browse our products or explore industries we supply.
Written by
The Total Air Filtration Team
General information only — always follow the instructions for your filter and system. Have questions about this article? We're here to help.