
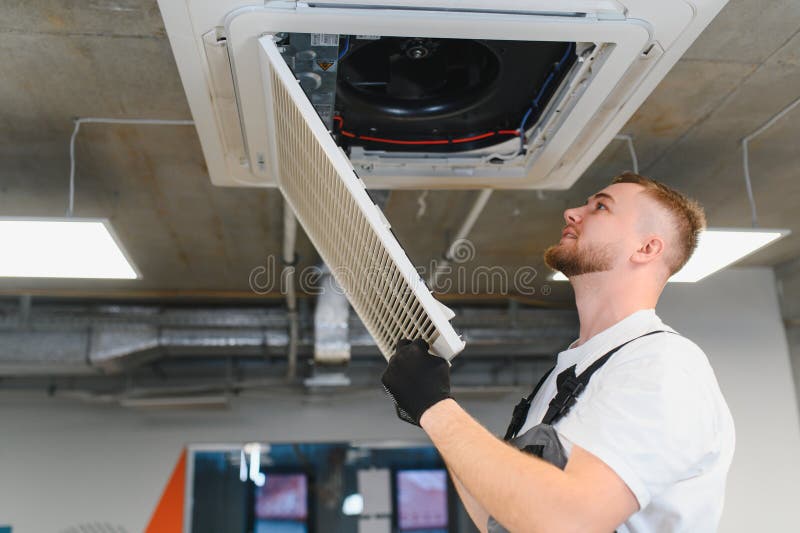
How to Inspect a Return Air Filter Holder for Warped Frames, Broken Clips and Poor Sealing
A return air filter can only do its job if the holder keeps it seated properly. If the frame is warped, the clips are damaged, or the seal is uneven, air can bypass the filter and carry dust straight past the media. This checklist is for homeowners, facility managers and contractors who want to inspect the holder itself, not just the filter element.
Why the holder matters
When people think about air filtration, they often focus on the filter media and overlook the hardware that holds it in place. A holder that does not sit flat, clamp correctly or seal evenly can undermine even a good filter.
In return air systems, the holder should keep the filter aligned so air is drawn through the media rather than around it. If there is movement, visible gaps or poor contact at the frame edges, that is worth investigating before replacing the filter again.
This is especially important in systems that are opened often for servicing, or where dust load is high and the filter housing gets a lot of handling. The inspection does not need specialist tools, but it does need a careful eye.
What to check before you open the holder
Before touching the filter, make sure the system is in a safe condition for inspection. If the equipment has isolation steps, follow the site procedure and the manufacturer instructions.
Look at the holder from the outside first:
- •Check whether the access door, panel or grille sits flush
- •Look for bent edges, loose screws or obvious racking in the frame
- •Note any rattling, vibration marks or signs that the holder has been forced closed
- •Check for dust streaks around the perimeter, which can point to leakage paths
- •Confirm the filter size matches the holder opening, using the equipment documentation or how to measure an air filter if needed
If the holder is visibly misshapen before you remove the filter, the problem may be with the housing rather than the filter itself.
Signs of a warped frame
A warped frame can stop the filter from seating squarely. Even a slight twist can create small gaps at the corners or edges, especially in metal holders that have been bent during servicing or under mechanical stress.
When inspecting the frame, look for:
- •Frame edges that bow inward or outward instead of lying flat
- •Corners that do not meet cleanly
- •Uneven depth from one side of the opening to the other
- •A filter that appears to lean or sit crooked inside the holder
- •Marks where the filter has been rubbing on one side more than the others
If the holder is made from sheet metal, check for dents, ripples and sharp folds that may stop the filter from seating properly. If it is a plastic or composite frame, look for distortion, cracking or heat-related softening.
A warped holder may also show repeated staining or dust tracks at the same edge every time the filter is inspected. That pattern usually means the seal is not consistent.
Broken or weak clips, latches and fasteners
Clips and fasteners are there to keep the filter secure and compressed against the seal. If they are broken, loose or missing, the filter can move under airflow and leave a gap.
Inspect each fixing point carefully:
- •Clips should snap firmly into place and stay engaged
- •Latches should hold without excessive force or slack
- •Screws and rivets should be present, tight and not stripped
- •Springs should return to position rather than staying bent open
- •Retaining bars should sit evenly and not twist when tightened
Broken clips can be obvious, but weak clips are just as important. A clip that still looks intact may have lost enough tension that it no longer presses the filter evenly into the seal.
If a holder uses multiple clips, compare their position and resistance. One side sitting looser than the other is often a clue that the frame is out of square, the clip is worn, or the filter is not the correct size.
How to spot poor sealing at the frame
A good seal should create continuous contact between the filter frame and the holder. You do not need specialist instruments to find many sealing problems, but you do need to check the full perimeter.
Look for these warning signs:
- •Dust trails around the edge of the filter frame
- •Gaps you can see at corners or along one side
- •Seal material that is compressed on one section but untouched on another
- •Gasket material that is cracked, flattened, torn or missing
- •Evidence that the filter has shifted after installation
If the holder uses foam or gasket sealing, inspect the material for age-related hardening, crushing or separation from the frame. If it relies on a channel or track, check that the filter sits fully into the groove and that nothing is blocking the seating surface.
A poor seal can also come from debris. Even a small build-up of dust, fibres or packaging material can stop the filter from sitting correctly. Clean the seating surface before refitting the filter if the manufacturer instructions allow it.
Practical inspection checklist for the holder itself
Use this as a hands-on guide during routine servicing or troubleshooting.
Check the seating surface
- •Wipe away loose dust and inspect the surface for dents or corrosion
- •Look for bent tabs, raised edges or damaged corners
- •Make sure the filter rests evenly along the full frame
Check the retaining hardware
- •Confirm clips, latches and screws are all present
- •Test whether the retaining parts hold pressure evenly
- •Replace missing or damaged fasteners with the correct parts
Check the seal area
- •Inspect gaskets, foam strips or sealing lips for wear
- •Look for compression only on one side
- •Check for visible gaps once the filter is installed
Check for movement
- •Gently confirm whether the filter shifts when the holder is closed
- •Listen for rattles or vibration when the system is operating
- •Watch for recurring dust marks that suggest bypass
Check the overall alignment
- •Compare one side of the frame with the other
- •Look for twists, bows or uneven closure points
- •Make sure the holder closes without forcing the filter out of square
If the holder repeatedly fails this checklist, replacing the filter alone will not solve the issue. The frame, clips or sealing surfaces may need repair or replacement.
When to replace the holder or get help
Some faults are best handled by a contractor or mechanical services technician, especially if the holder is part of a larger return air assembly or ceiling plenum.
Consider repair or replacement if you find:
- •Cracked or distorted frame members
- •Clips that no longer hold tension
- •Corroded parts that cannot be cleaned or straightened reliably
- •Repeated bypass marks after correct installation
- •A holder that does not match the filter size or style being used
For commercial or controlled environments, site requirements should be confirmed with the mechanical services engineer or building owner, and relevant ventilation requirements such as AS 1668.2:2024 should be considered as part of the broader system design.
If you are unsure whether the issue is the holder, the filter, or both, it can help to review the whole setup, including the filter type and the access arrangement. In some cases, filter servicing or commercial filter servicing is the right next step.
Getting the right replacement parts and support
A damaged return air filter holder often points to a sizing or fit issue somewhere in the system, so it is worth checking the filter dimensions and the holder condition together. If you need a replacement filter, a custom size, or help matching the right product to the housing, Total Air Filtration can help as a family-owned air filter manufacturer and supplier in Hillcrest, Brisbane QLD.
We can supply standard products or make the right fit for your application through our products and custom air filters. To discuss your holder, filter size or servicing needs, call 07 3800 3448 or request a quote.
Written by
The Total Air Filtration Team
General information only — always follow the instructions for your filter and system. Have questions about this article? We're here to help.