
How to Build a Site-Based Air Filter Inspection Route for Multi-Storey Buildings
Multi-storey buildings can hide air filters in more places than many teams first expect. A proper inspection route needs to move through the building in a logical sequence so plant rooms, ceiling voids, return air points and rooftop units are all checked without gaps.
For facility managers and mechanical contractors, the aim is not just to “look around”. It is to build a repeatable route that helps you find every serviceable filter location, confirm access, and document what was found on site.
Start with a building map, not a clipboard
Before opening any panels, gather the best drawings and site documents available. As-built mechanical plans, tenancy layouts, roof access plans and plant room schedules can all help reveal where the air handling equipment is located.
A good inspection route starts with an asset list that includes:
- •air handling units
- •fan coil units with filter sections
- •return air grilles and plenums
- •fresh air intake sections
- •rooftop units
- •ceiling space access points
- •risers and interstitial service areas
If the drawings are incomplete, walk the building with someone who knows the site. Older buildings often have equipment moved, replaced or added over time, so hidden filter locations may not appear on current plans.
It also helps to note the access conditions for each area. Some locations need a ladder, a roof permit, after-hours access or a second person on site. Others may require coordination with tenants before ceiling tiles can be lifted.
Build the route floor by floor
A floor-by-floor route is usually easier to manage than trying to follow the mechanical system from end to end. Start at one level and work through it in a set order so no spaces are missed.
A practical approach is to move through each level in the same pattern every time:
- •begin at the plant room or main mechanical access point on that level
- •check any local air handling or fan equipment first
- •inspect return air points in occupied areas
- •move into ceiling spaces where service access exists
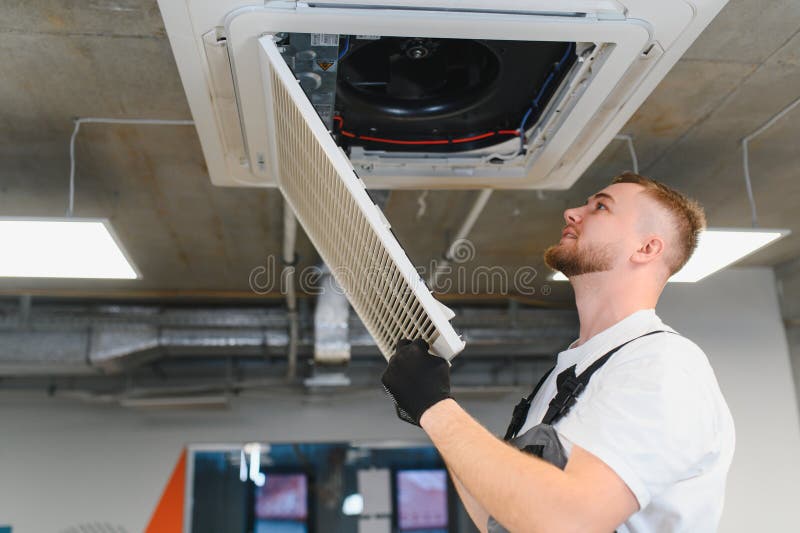
- •confirm any ceiling-mounted or concealed filter housings
- •finish with any perimeter or ancillary equipment on that floor
This reduces backtracking and helps you keep track of what has been inspected. It also makes it easier to compare one floor with the next, which is useful in buildings with repeated layouts.
Where possible, follow the direction of the air system rather than the direction of the corridor. If a unit serves several tenancies or a whole floor, inspect the unit first, then trace downstream access points and return air locations.
Don’t miss the hidden assets
The filters that are easiest to forget are often the ones tucked behind finishes or in secondary spaces. Ceiling voids, return air plenum spaces, locked service cupboards and rooftop enclosures can all contain filter sections that are not obvious at first glance.
Common places hidden filters turn up
- •above ceiling tiles near return air paths
- •inside small riser cupboards on each level
- •behind lockable louvre panels on external walls
- •in rooftop units screened from the main roof access route
- •within plant rooms that are shared by several floors
- •in mixed-use areas where tenancy fit-outs have changed the original layout
If a grille or access panel appears to be only a return air point, check whether there is a filter behind or beyond it. In some systems, the filter is located upstream in a concealed section and is only reached by removing panels or tiles.
For buildings with repeated floor plates, hidden assets often appear in the same general position on each level. Once you find one concealed filter location, check the matching position on the other floors.
Make the inspection route site-specific
A route that works in one building may not suit another, even if they look similar. The inspection plan should reflect how the system was designed, what has changed over time and how the building is used today.
Useful information to record includes:
- •unit tag numbers and locations
- •access method for each filter section
- •filter size and type, where visible
- •whether the filter is part of a return air grille, cassette, panel or rigid frame arrangement
- •any obstructions that make servicing difficult
- •the condition of seals, frames and access doors
If you are measuring replacement filters, take accurate dimensions from the existing filter or frame and confirm the method of measurement before ordering. If needed, use how to measure an air filter as a reference for avoiding size errors.
For site records, it helps to distinguish between areas that are easy to access and those that need extra planning. A rooftop unit may be straightforward to inspect on paper, but difficult in practice if the roof access route is restricted or the unit is surrounded by services.
Include the right checks while you are there
An inspection route should not stop at confirming the filter exists. Look at the condition of the surrounding equipment so you can plan maintenance properly.
Key things to check
- •evidence of dust bypass around the filter frame
- •damaged seals or warped access doors
- •moisture, mould or corrosion in the housing
- •loose clips, latches or holding frames
- •collapsed or distorted filter media
- •odour or visible contamination in nearby ductwork
- •whether a pressure gauge or differential pressure indicator is fitted and readable
Inspection frequency depends on the system, the site conditions and the dust load. Follow the filter and equipment manufacturer instructions, and monitor pressure drop where gauges are fitted. If the building has unusual dust sources, nearby construction or a change in occupancy, the route may need to be revisited more often.
Where the system serves specialist areas, check whether the mechanical services engineer or building owner has specific site requirements. If ventilation design matters to the building, AS 1668.2:2024 may be relevant, but the final requirements should always be confirmed for the site.
Document the route so it can be repeated
A good inspection route is only useful if another person can follow it later. Keep the records simple, clear and consistent.
Your route sheet or site checklist should note:
- •the order of inspection for each level
- •exact access points used
- •any locked or restricted areas
- •the location of hidden or difficult-to-reach filters
- •photos of unfamiliar units or access panels
- •notes on changes since the last visit
For larger sites, mark the route on a floor plan and note the sequence in which each area is checked. This helps prevent missed plant rooms, especially in buildings where the mechanical system crosses between basements, podium levels and rooftop equipment.
If you are planning ongoing servicing rather than a one-off inspection, you may also want to link the route to filter servicing or commercial filter servicing so the same asset list can be used for follow-up work.
When the site needs custom or replacement filters
Once the inspection route is in place, the next step is having the right filters available when a unit needs attention. Some buildings use standard sizes, while others need custom filters for older housings, shallow frames or non-standard access sections.
Not all filter ratings or standards convert directly from one system to another, so it is best to match the filter to the equipment and the site requirement rather than relying on rough equivalence. In Australia, G3/G4/F5-F9 are EN 779 classes that are still widely used in practice, even though that standard has been superseded by ISO 16890. If HEPA filtration is specified, remember that H13 and H14 are defined under EN 1822 at the most penetrating particle size, with H13 at >=99.95% and H14 at >=99.995% efficiency.
Some filters are designed to be washable - check the product instructions before cleaning or reusing them.
If you need a standard replacement or a made-to-measure solution, see our products and custom air filters for options suited to different plant and access arrangements.
Keep the route practical for the people doing the work
A route only works if it fits the way your team actually moves through the building. Keep it realistic, safe and easy to follow.
That usually means:
- •grouping nearby assets into a sensible sequence
- •allowing time for access checks before starting
- •bringing the right tools for grilles, panels and ceiling access
- •noting any permits or tenant notifications needed
- •updating the route whenever plant or tenancy layouts change
For complex buildings, it can be worth separating the inspection route into zones, such as basement plant, mid-level floors, roof equipment and specialist tenancy areas. That makes it easier to assign responsibilities and reduces the chance of overlooking concealed service points.
Need help identifying the right filters
If your route has uncovered awkward locations, non-standard sizes or equipment that needs a replacement filter, Total Air Filtration can help supply or make the right filters for the job. We are a family-owned air filter manufacturer and supplier in Hillcrest, Brisbane QLD, established 2009.
Call 07 3800 3448 or request a quote. If you need to speak with the team about a specific site, you can also contact us.
Written by
The Total Air Filtration Team
General information only — always follow the instructions for your filter and system. Have questions about this article? We're here to help.