
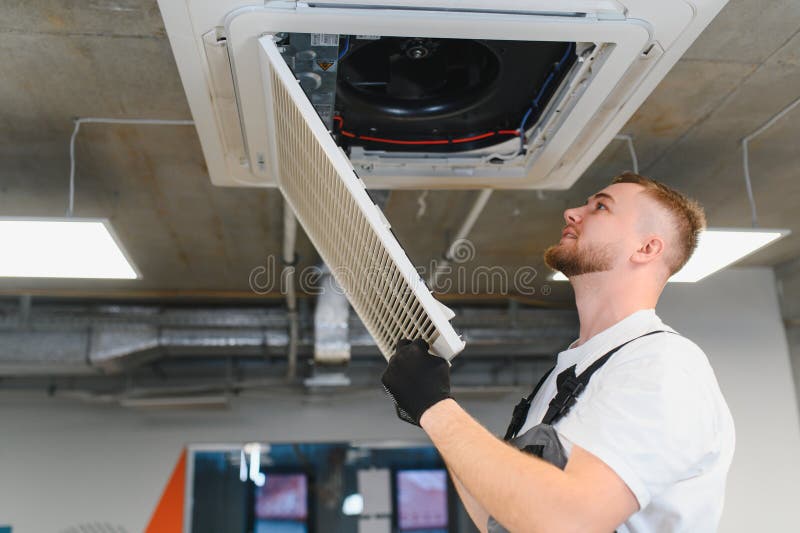
How Real Estate Managers Can Document Air Filter Condition at Routine Inspections
Routine property inspections are a good time to check the condition of visible air filters in ducted and split-system equipment. Clear photos and simple notes help you track wear, catch problems early and give owners better information when maintenance is needed.
The aim is not to guess whether a filter is “due” for replacement on a fixed schedule. Instead, document what you can actually see, note the system type and conditions at the site, and follow the filter and equipment manufacturer instructions. If pressure gauges are fitted, record the pressure drop as part of your inspection notes.
Why filter condition matters in property inspections
Air filters collect dust and other particles before they move through the system. When they are visibly loaded or damaged, they may no longer be doing their job effectively, and the equipment can become harder to manage.
For property managers and real estate agents, documenting filter condition helps with:
- •maintenance handover between tenants, owners and trades
- •identifying whether a service call is needed
- •supporting conversations about dust-heavy locations or unusually busy sites
- •showing whether the filter is installed correctly and in usable condition
If the building has a mechanical ventilation system, confirm any site-specific requirements with the mechanical services engineer or building owner. AS 1668.2:2024 is relevant to ventilation, but the right solution still depends on the site and equipment.
What to photograph during an inspection
Your photos should show both the filter and the context around it. A small set of clear images is usually more useful than a single close-up.
Take a wide shot first
Start with a photo that shows where the filter sits in the unit, return grille, ceiling void, plant room or wall-mounted split-system head. This helps anyone reviewing the report understand the equipment type and location.
If the filter is hard to access, include enough of the surrounding area to show how it is installed and whether there is room for proper servicing.
Photograph the filter face-on
Take a straight-on image of the visible filter surface. This makes it easier to see:
- •dust build-up
- •patchy loading
- •staining
- •bends, dents or sagging
- •gaps at the edges
If the filter has pleats, capture the pleat pattern clearly. If it is a flat panel type, show the full face so the extent of dirt loading can be seen.
Include close-ups of any issues
Use close-up photos to document:
- •torn media
- •damaged frame corners
- •crushed or collapsed sections
- •broken seals or missing gaskets
- •loose clips, latches or fasteners
- •mould growth or moisture staining
- •unusual odour notes if the filter area smells damp or stale
If you see mould, be careful not to disturb it. Record the condition and escalate it to the appropriate tradesperson or owner for follow-up.
Photograph the label if available
If the filter has a visible label, photograph it. Product details can be important for later ordering, especially when the filter is a non-standard size or a custom-made item.
Useful details to capture include:
- •brand or product name
- •size markings
- •directional airflow arrows
- •frame material
- •any rating or specification shown on the filter
If the size is unclear, take a quick measurement and note it in your report. If you need a guide, see how to measure an air filter.
What to note in the inspection report
A photo is stronger when it is backed by a brief, practical note. Keep the wording factual and consistent from one inspection to the next.
Record the filter type and location
Note whether the system appears to be:
- •a ducted return-air filter
- •a split-system filter
- •a ceiling cassette filter
- •a wall-mounted unit filter
- •a filter in a mechanical plant area
Also record the exact location, such as “laundry ceiling return grille”, “master bedroom split-system head”, or “corridor ceiling plant access”. Clear location notes reduce confusion later.
Describe the visible condition
Use simple observations rather than general impressions. For example:
- •light dust on the surface
- •heavy dust loading across most of the media
- •uneven dirt build-up on one side
- •damaged frame edge
- •filter does not sit squarely in the holder
- •filter appears wet or stained
- •odour present near filter access point
If a pressure gauge is fitted, note the reading. A rising pressure drop can indicate the filter is becoming more restricted, but the interpretation depends on the system design and manufacturer guidance.
Note any access or installation problems
Sometimes the main issue is not the filter itself but how it is installed. Include notes such as:
- •access panel difficult to open
- •filter cannot be removed without tools
- •frame is loose or poorly sealed
- •incorrect size installed
- •filter orientation unclear
- •grille or housing is damaged
These observations can help identify whether a replacement, adjustment or maintenance call is required.
How to tell when the filter needs follow-up
There is no universal replacement interval that suits every property. Inspection frequency depends on the system, dust load and site conditions, so follow the manufacturer instructions and observe the equipment over time.
A follow-up is usually sensible when you see:
- •heavy visible dust accumulation
- •physical damage to the filter or frame
- •moisture, staining or mould growth
- •a poor fit that allows bypass around the edges
- •repeated loading soon after a previous inspection
- •a pressure drop that suggests the filter is becoming restricted
If the site uses washable filters, remember that only some products are designed to be washed. Check the product instructions before recommending cleaning or reuse.
For properties with repeated dust issues or awkward access, it can help to discuss options with a supplier that offers both standard and made-to-order sizes. In some cases, custom air filters are the simplest way to get the right fit.
Simple wording you can use in your notes
Keeping notes consistent makes them easier to review later. Here are some practical examples you can adapt:
- •“Ducted return filter visible, surface heavily dust loaded, photo taken, owner advised for follow-up.”
- •“Split-system filter accessible, light dust present, no damage observed, label photographed.”
- •“Filter frame wet-stained, odour noted at access point, condition escalated for inspection.”
- •“Filter appears loose in frame, edge gap visible, recommend maintenance review.”
If you manage multiple properties, standard wording also helps when different people are doing inspections. That way, everyone is describing the same issues in the same way.
A practical routine for agents and property managers
A good inspection habit is to check the filter whenever the unit is visible and safe to access, then document what you see in the same format each time.
A useful routine is to:
- •photograph the filter in place
- •note the location and system type
- •record visible condition and any odour or moisture issues
- •check for damage, poor fit or signs of bypass
- •record any gauge reading if fitted
- •escalate anything unusual to the owner or service contact
If the property has recurring issues, or if the filter size is unusual, a supplier can help match or manufacture the right product. For ongoing support, see our filter servicing options or browse our products for standard and specialty filters.
Need help supplying the right filter
Total Air Filtration is a family-owned air filter manufacturer and supplier in Hillcrest, Brisbane QLD, established in 2009. If you need a replacement, a custom size or help identifying the right filter for a property, call 07 3800 3448 or request a quote.
You can also contact us or explore industries we supply for more information.
Written by
The Total Air Filtration Team
General information only — always follow the instructions for your filter and system. Have questions about this article? We're here to help.