
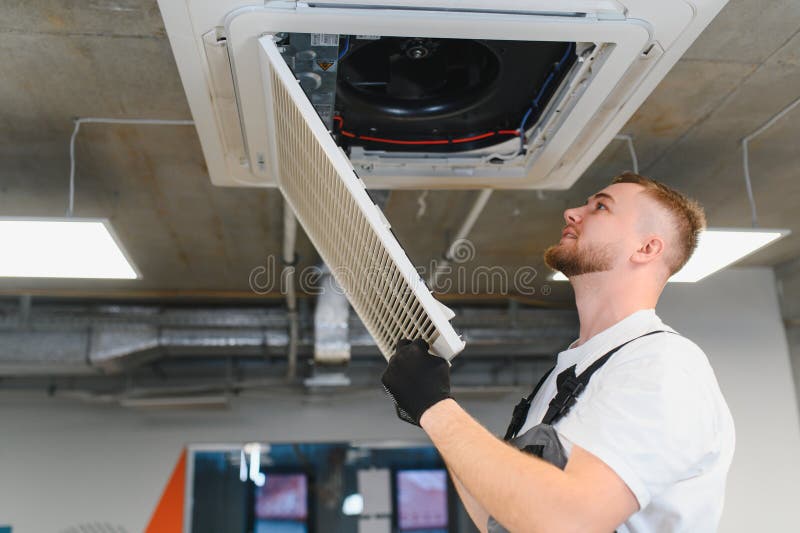
Filter Frames with Gaskets: What to Check Before a Retrofit Install
Retrofitting a filter bank is rarely just a matter of swapping out the old filter and fitting a new one. If the frame, sealing surface or gasket system has aged, warped or been modified over time, the new filter may fit poorly and leakage can continue even when the media itself is in good condition.
For mechanical contractors and facility managers, the key is to treat the frame and gasket as part of the filtration system, not as background hardware. A careful inspection before installation can save time on site and help you choose the right replacement approach.
Why older filter banks start leaking
Leakage often develops gradually. The filter may no longer sit squarely in the frame, the gasket may have compressed or hardened, or the housing may have been altered during previous maintenance work.
Common causes include:
- •Bent or distorted frames from repeated change-outs or impact
- •Corrosion on metal surfaces that prevents an even seal
- •Damaged retaining clips, springs or doors that no longer hold uniform pressure
- •Old gasket material that has flattened, cracked or lifted away from the frame
- •Mismatched replacement filters that were never the exact size for the bank
Once air takes the path of least resistance around the filter, dust load on the media can increase unevenly and the system may become harder to manage. In retrofit work, it is worth checking whether the leakage is coming from the filter itself, the frame, or the interface between the two.
Check the frame before you order the replacement
Before you specify new filters, inspect the existing bank carefully. A replacement that looks right on paper can still fail if the frame is out of square or the seal face is uneven.
Look for the following:
- •Overall dimensions and squareness: Measure the opening and compare it with the intended filter size. Do not assume the old filter label matches the actual frame.
- •Flatness of the sealing surface: Raised welds, dents, sealant residue or rust can stop the gasket from seating properly.
- •Condition of the frame material: Check for corrosion, cracked welds, loose rivets or fatigue around fixing points.
- •Access and removal space: Make sure there is enough clearance to install the new filter without forcing it into the opening.
- •Holding hardware: Inspect clips, clamps, springs, latches and door seals for wear or misalignment.
If the bank has been repaired before, confirm that the repair work has not changed the opening size or seating depth. Even small differences can matter when the new filter relies on a gasketed seal.
What to check on the gasket itself
The gasket is doing more work than many people realise. It has to fill small irregularities between the filter frame and the housing, and it has to do that consistently across the whole perimeter.
When inspecting gasketed filter frames, check:
- •Compression set: If the gasket has stayed flattened after the filter is removed, it may no longer rebound well enough to seal.
- •Cracking or splitting: Old foam, rubber or other gasket materials can harden and break down over time.
- •Adhesion: A gasket that has lifted at the corners or along a seam may leak even if the rest of the frame looks acceptable.
- •Continuous contact: The gasket should meet the frame evenly, without gaps caused by debris, paint build-up or distortion.
- •Compatibility with the replacement filter: The new filter should be designed for the same gasket style and clamping arrangement.
If the gasket is built into the filter, inspect the condition of the filter frame before installation. If the gasket is separate, confirm it is installed cleanly and without overlaps or twisted sections.
Match the filter style to the bank, not just the opening
A retrofit install is not only about dimensions. The filter construction must suit the way the bank holds the filter in place.
Before selecting a replacement, confirm:
- •Whether the bank uses front-loading, side-loading or knife-edge style retention
- •Whether the filter needs a foam gasket, gel seal or another sealing method
- •Whether the holding pressure is applied evenly across the full face
- •Whether the frame depth allows the gasket to compress properly without overloading the filter
If the system has been modified over time, an older bank may no longer suit the original filter type. In some cases, it is better to replace or rework the frame arrangement than to keep forcing incompatible filters into service.
For systems where dust loading is a concern, pressure drop should be monitored where gauges are fitted. Inspection frequency depends on the system, site conditions and dust load, and it is sensible to follow the filter and equipment manufacturer instructions.
Watch for signs of poor sealing after installation
Once the retrofit is complete, check that the filter sits evenly and is not bowed, pinched or forced out of alignment. A quick visual inspection can catch issues before they become an ongoing maintenance problem.
Signs of a poor seal can include:
- •Uneven compression around one edge
- •Air bypass marks, dust tracking or dark staining around the frame
- •Difficulty closing access doors or locking mechanisms
- •Audible leakage around the bank during operation
- •A filter that shifts position after the unit starts up
If the system is accessible, use the manufacturer’s recommended methods to confirm the installation is seated correctly. Where pressure monitoring is fitted, record the baseline after the retrofit and compare it during routine checks so changes can be picked up early.
When the frame should be repaired or replaced
Not every frame can be brought back into service with a new gasket and filter. If the sealing surface is badly corroded, the opening is no longer square, or the retaining hardware cannot hold the filter evenly, further patching may not solve the problem.
You may need a more complete fix when:
- •The frame has obvious distortion or damage
- •Corrosion has eaten into the sealing face
- •The retention system no longer creates even pressure
- •Previous sealant or adhesive repairs are failing
- •Replacement filters repeatedly show leakage or poor seating
In some buildings, the best retrofit outcome comes from combining new filters with frame remediation, especially if the system has changed hands over the years and maintenance records are incomplete. For ventilation systems, site requirements should be confirmed with the mechanical services engineer or building owner, including any applicable considerations under AS 1668.2:2024.
If you need help comparing replacement options, our how to measure an air filter guide is a useful starting point, and our filter servicing page explains how we support ongoing maintenance.
Getting the retrofit right the first time
A good retrofit starts with the existing frame and gasket details, not just the filter media. Measure carefully, inspect the sealing surfaces, confirm the retention method and choose a replacement that suits the bank as installed today, not how it looked when it was new.
Total Air Filtration is a family-owned air filter manufacturer and supplier in Hillcrest, Brisbane QLD, established 2009. We can help supply the right replacement filters or make filters to suit a difficult retrofit, including custom sizes and sealing requirements.
If you are working on an ageing filter bank and want practical advice before you order, call 07 3800 3448 or request a quote. You can also view our products or custom air filters for more options.
Written by
The Total Air Filtration Team
General information only — always follow the instructions for your filter and system. Have questions about this article? We're here to help.