
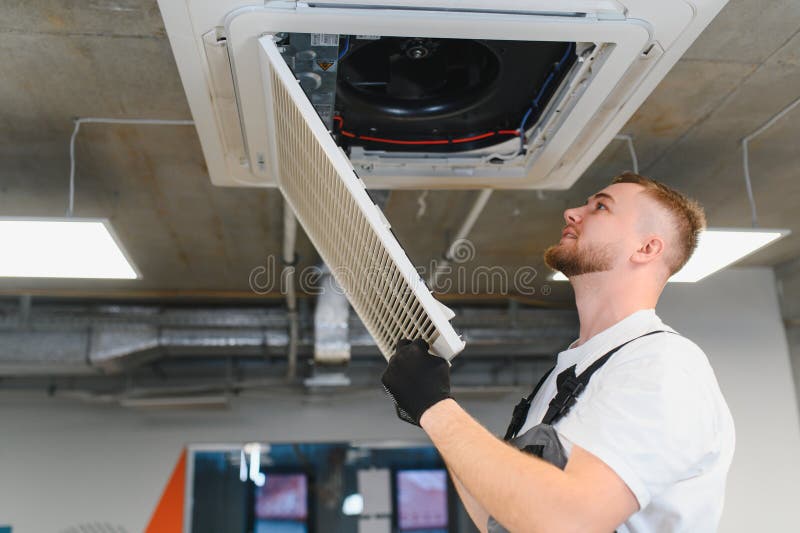
Dust on the Supply Side of the Filter: What It Says About the Housing
If you’re finding dust on the supply side of a filter, the filter media may not be the only part of the system worth inspecting. Dust appearing downstream usually points to a problem with the filter installation, the housing, or the seal between the two. In practice, it is often a sign that contaminated air is getting around the filter rather than through it.
For facility managers and contractors, that makes downstream dust a useful clue. It can help narrow down whether the issue is bypass, poor seating, a damaged filter, or a failed access door seal before the problem turns into ongoing complaints, more frequent cleaning, or additional strain on the system.
What dust downstream is usually telling you
A filter is meant to force air through the media. If dust is appearing on the supply side, the air may be finding another route. That does not always mean the filter itself has failed, but it does mean the air path is no longer sealed as intended.
Common causes include:
- •Bypass around the filter frame where air slips past the edges instead of passing through the media
- •Poor seating in the holding frame due to incorrect installation, a warped frame, or an uneven face seal
- •A tear, puncture, or split in the media that allows particles through the filter itself
- •A failed access door seal that leaks air from the contaminated side into the supply side of the housing
- •Distorted filter tracks or clamp points that stop the filter from sitting squarely in the compartment
The source of the dust matters because the fix depends on where the leakage is happening. Replacing the filter alone may not solve the issue if the housing is the real problem.
Bypass: the filter is fine, but the air path is not
Bypass occurs when air moves around the filter instead of through it. This is one of the most common reasons dust shows up downstream even when the installed filter looks intact.
Signs of bypass at the housing
- •Dust streaks around the perimeter of the filter
- •Uneven dust loading on the media face
- •Visible gaps between the filter and the frame
- •Dust tracking near corners, edges, or corners of access panels
- •A filter that seems loose, rattles, or shifts when the system starts
Bypass can happen if the filter is the wrong size, if the seal is compressed unevenly, or if the housing has been damaged or assembled incorrectly. If you need to confirm dimensions before replacing a unit, how to measure an air filter is a useful starting point.
The key point is that a filter can only perform properly when the housing holds it firmly and the seal is doing its job.
Poor seating and installation issues
Even a correctly sized filter can leak if it is not seated properly. In busy plant rooms, ceiling cavities, and rooftop units, filters are often changed under time pressure, which can lead to a filter sitting slightly out of square or not fully engaged in the frame.
What to check after installation
- •The filter is aligned with the tracks or retaining clips
- •The frame is not bent, dented, or twisted
- •The gasket or sealing surface is intact and evenly compressed
- •Retaining hardware is secure and not over-tightened
- •There is no debris trapped between the filter and the housing face
A small gap is enough to create a pathway for dust. That is why it is worth inspecting the housing face itself, not just the replacement filter. If you are unsure whether the unit can be repaired in place or needs a more tailored solution, filter servicing may help you assess the next step.
Tears, punctures, and failed media
Sometimes the dust on the clean side is coming through the filter media itself. This can happen if the filter has been damaged during transport, handling, installation, or service access. It can also occur when a filter is pushed beyond what the application is expecting, especially where the air is carrying heavier dust loads than usual.
What damaged media can look like
- •Small splits or punctures in pleated sections
- •Torn corners from rough handling
- •Collapsed areas where the media has been crushed
- •Dust concentration in one spot rather than across the whole face
- •Loose fibres or visible damage at the frame junction
A damaged filter should be removed and replaced. If the same type of failure keeps occurring, the issue may not be the product alone. The housing, pre-filtration, airflow arrangement, or maintenance method may need review.
For sites with unusual dimensions or difficult access, custom air filters can help improve fit and reduce the chance of leakage caused by mismatched sizes.
Access door seals and housing integrity
A failed access door seal can be easy to overlook because the filter itself may still look normal. If the door does not close properly, or the gasket is compressed unevenly, dust-laden air can leak into the supply side of the unit.
This is especially important on equipment where the housing is opened regularly. Repeated access can wear the seal, distort the door, or damage the mating surface. Even a minor defect can create a persistent leak path.
Inspect the housing for these issues
- •Hardened, flattened, or cracked door seals
- •Latches that do not pull the door closed firmly
- •Rust, distortion, or damage on the door frame
- •Dust trails around the perimeter of the access panel
- •Missing or displaced sealing material
If the housing is compromised, replacing filters without repairing the seal will usually only give a temporary improvement. That is why housing condition should be checked whenever dust appears where it should not.
How to approach the problem on site
Start by looking at the dust pattern. Concentrated dust around the edge of the filter usually suggests bypass or sealing issues. Dust appearing through the middle of the media points more towards filter damage. If dust is present near the access door or panel edge, the housing seal should be high on the list.
A practical site check should include:
- •Visual inspection of the filter, frame, and door seals
- •Confirmation that the filter is the correct size and is seated properly
- •Review of pressure drop where gauges are fitted
- •Check for warping, corrosion, or damage in the housing
- •Comparison with the equipment manufacturer’s instructions
Inspection frequency depends on the system, site conditions, and dust load. Follow the filter and equipment manufacturer’s instructions, and monitor pressure drop where gauges are fitted. Where relevant, site requirements should also be confirmed with the mechanical services engineer or building owner, particularly when the installation relates to ventilation requirements under AS 1668.2:2024.
Some filters are designed to be washable - check the product instructions before cleaning or reusing any product.
When the housing needs more than a filter change
If dust keeps appearing downstream after filter replacement, the problem is likely structural or procedural rather than just consumable-related. In those cases, the housing may need adjustment, resealing, or replacement components to restore a proper air seal.
That is especially true on older systems, heavily used plant, or installations that have been opened and serviced many times. A good filter cannot compensate for a leaking housing, poor alignment, or a damaged access door.
At Total Air Filtration, a family-owned air filter manufacturer and supplier based in Hillcrest, Brisbane QLD, we can help supply or make the right filters for the application, including options suited to your housing and access constraints. If you need advice, call 07 3800 3448 or request a quote.
For related support, you can also view our products or contact us.
Written by
The Total Air Filtration Team
General information only — always follow the instructions for your filter and system. Have questions about this article? We're here to help.