
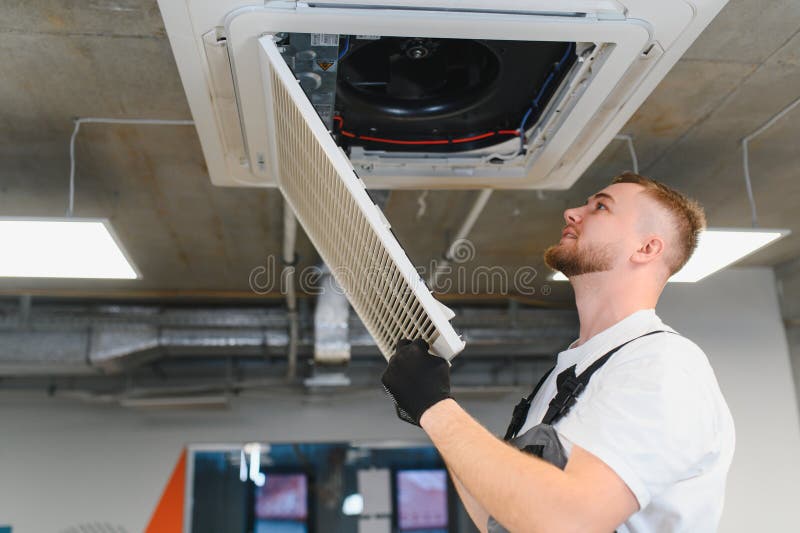
Creating a Photo Log for Every Filter Housing and Access Point
A photo log is one of the simplest ways to make filter maintenance easier to repeat. Clear before-and-after photos of each filter housing and access point give facility teams and contractors a reliable record of what was installed, where it sits, and how to get back to it during the next visit.
For buildings with multiple air handling units, rooftop plant, ceiling void access or plant rooms that change hands over time, good photos can save a lot of back-and-forth. They also help when you need to order the same filter again, confirm the size or frame type, or explain to another contractor what was changed last time.
Why a photo log matters
Written notes are useful, but they can be open to interpretation. A photo shows the actual housing, the access path, the direction of airflow, the latch style, and the condition of the surrounding area at the time of service.
That matters because filter installations are not always identical across a site. Even in the same building, you may find different frame depths, holding systems, access clearances or duct arrangements. A photo log helps reduce guesswork when someone new attends the site or when the original service provider is no longer involved.
A good record can help with:
- •Identifying the correct filter size and frame style for repeat ordering
- •Confirming which access panel or housing belongs to which system
- •Noting unusual orientation, obstructions or confined access
- •Showing the condition of the seal, gasket area and seating surfaces
- •Comparing the installed filter with the replacement after service
If you are unsure how to measure a filter or confirm the dimensions from an existing unit, our guide on how to measure an air filter can help.
What to photograph at each access point
The most useful photo log is not just one close-up shot. It should tell the full story of the access point, the housing and the filter arrangement.
Capture the wider context first
Start with a wider photo that shows where the unit is located. This helps anyone returning later to recognise the area quickly, especially if plant rooms, ceilings or rooftop equipment look similar.
Useful wider shots include:
- •The unit in relation to surrounding walls, doors or equipment
- •The full bank of housings if there are several together
- •The approach path to the access point
- •Any signage, tags or unit labels that identify the system
Add detail images
Once the location is clear, take closer photos of the details that affect servicing and reordering.
Useful detail shots include:
- •The access door, latch or fastener arrangement
- •The filter face or bank configuration
- •The frame type, gasket edge or holding track
- •Any visible airflow direction markings
- •Any damage, dust loading, corrosion or seal issues
If the site uses commercial filter servicing, these details can be especially helpful for future visits because they reduce time spent identifying the right access point and filter type.
Before-and-after photos that actually help later
The most valuable part of a photo log is the comparison between the condition before service and the condition after the replacement is complete. That comparison makes it much easier to understand what changed.
Before photos
Take before photos before opening the housing, then again once the filter is exposed. This gives a record of the site condition and the arrangement before any work begins.
Before photos can help show:
- •The condition of the old filter
- •Whether the filter was installed correctly or shifted in place
- •Visible dust build-up on nearby surfaces
- •Any damage to frames, seals or retaining hardware
After photos
After the new filter is fitted, take photos that show the completed installation from the same angle. If possible, match the before shot so the difference is easy to see.
After photos can confirm:
- •The correct filter has been installed
- •The filter is seated properly and the access door closes as intended
- •Any replacement seals or hardware have been fitted correctly
- •The unit is ready for the next maintenance visit
This is especially useful where the same system is serviced by different people over time. A clear after photo makes it easier for the next technician to know what was left in place and how it should look when reassembled.
Using photos for repeat ordering
Photos are not a substitute for proper measurements, but they can make repeat ordering far more accurate. When a replacement is needed, a clear image often confirms details that might be missed in written notes alone.
A photo can help identify:
- •Whether the filter is panel, pleated, bag, pocket or rigid style
- •The frame depth and visible face area
- •The number of filters in the housing
- •Whether the housing takes a standard size or a made-to-fit product
- •Any special features such as clips, flanges or seal surfaces
If the original filter was supplied specifically for the site, the image can also help when ordering again from the same drawings or samples. For more tailored sizes and configurations, see our custom air filters.
It is still important to confirm dimensions before placing an order. Photos help with recognition, but measurements confirm fit. If the housing is being replaced, modified or reconfigured, the site requirements should be checked with the mechanical services engineer or building owner.
Reducing confusion during future maintenance visits
One of the biggest benefits of a photo log is clarity when someone returns to a site months later. People change, access routes change and labels can be updated or removed. A good photo log helps the next visit start with less uncertainty.
That is particularly useful when:
- •Multiple housings are close together
- •Access points are behind locked doors or in ceiling spaces
- •Several contractors work on the same site
- •A unit has been repaired, altered or relocated
- •The original service notes are brief or inconsistent
A photo log also makes handover easier. If a facility manager changes, the new person can review the images and quickly understand which systems have which filters, where access is located and what to expect on the next maintenance call.
For sites that need ongoing planning, a photo log can sit alongside service notes, filter measurements and ordering history. Together, those records make it easier to keep track of what was fitted and what may be needed next.
Practical tips for building a useful photo log
A photo log only works if the pictures are easy to find and easy to understand. A little organisation at the start makes it much more useful later.
Keep the system simple:
- •Use a consistent file name that includes the site, area and unit identifier
- •Take photos from the same angle before and after service where possible
- •Include one wide shot and one or two close detail shots for each access point
- •Add a short note for anything unusual, such as restricted access or a non-standard frame
- •Store the photos with the service record, not in a separate folder that may be forgotten
If your site uses air filtration equipment that is part of a broader ventilation system, it can also help to keep the photo log alongside any maintenance notes that refer to AS 1668.2:2024. Site requirements should always be confirmed with the mechanical services engineer or building owner.
Make every visit easier to repeat
A photo log turns a one-off service visit into a record that can be used again later. It helps facility managers keep better site history and gives contractors a clearer picture of what they are walking into on the next job.
Total Air Filtration is a family-owned air filter manufacturer and supplier in Hillcrest, Brisbane QLD, established 2009. We can help supply or make the right filters for your site, including repeat orders based on existing records and measurements. Call 07 3800 3448 or request a quote.
If you need help selecting filters for your application, browse our products or get in touch through contact us.
Written by
The Total Air Filtration Team
General information only — always follow the instructions for your filter and system. Have questions about this article? We're here to help.