
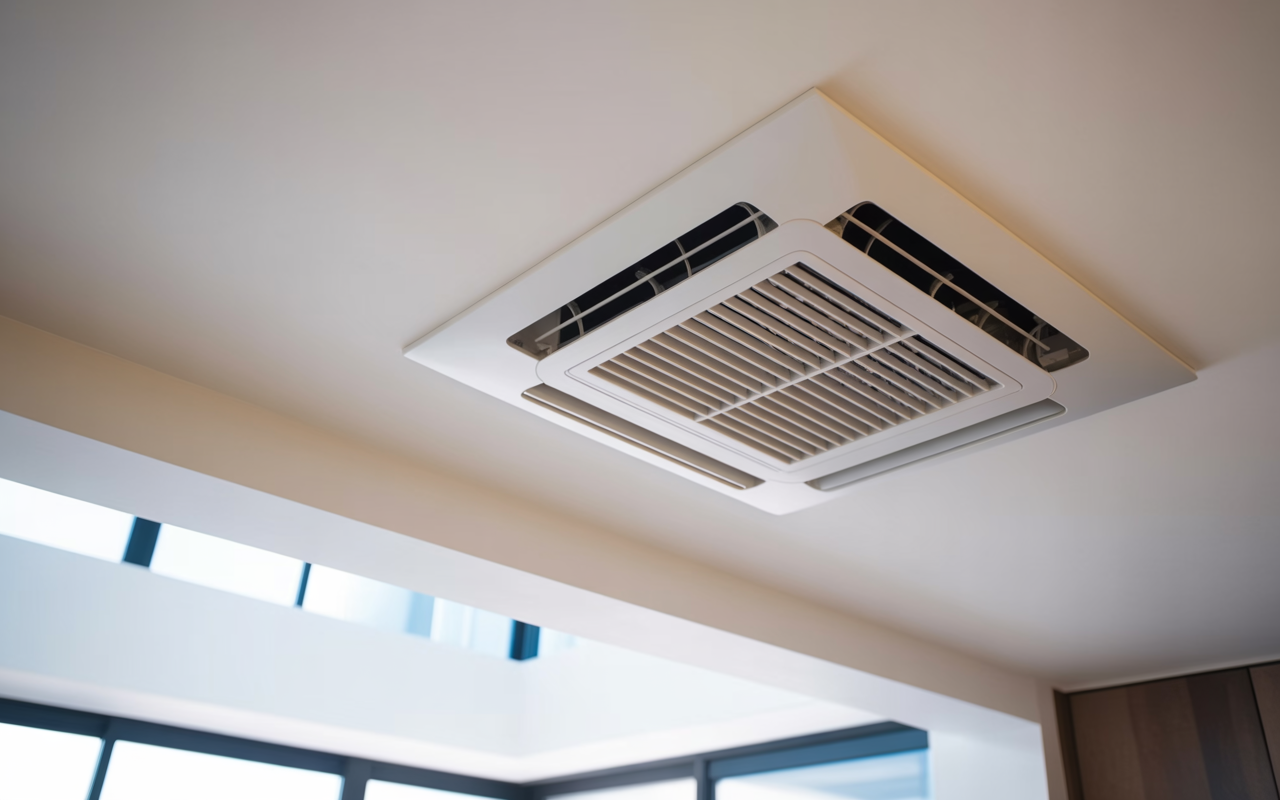
Airflow Checks for Ducted Air Conditioning Before and After Filter Inspection
If a ducted air conditioning system seems underperforming, a simple airflow check can help narrow down whether the filter is part of the problem. You do not need specialised tools for an initial look at the difference between supply vents and return grilles, and comparing readings before and after a filter inspection can give you a clearer picture of what is going on.
This guide explains a straightforward approach for homeowners and facility managers. It is not a substitute for a full mechanical assessment, but it can help you decide whether the filter deserves attention, whether the issue may be elsewhere in the system, and when to arrange filter servicing or commercial filter servicing.
Why airflow checks are useful
In a ducted system, the filter sits in the air path before air is distributed through the ducts and out through the vents. If the filter is dirty, damaged, incorrectly fitted, or the wrong type for the system, it may restrict airflow or allow air to bypass the filter media.
A basic airflow comparison helps you notice changes such as:
- •weaker air movement from some or all supply vents
- •uneven airflow between rooms or zones
- •stronger-than-expected air movement at the return grille compared with supply vents
- •visible dust build-up around the filter housing or return air path
- •a system that sounds like it is working harder than usual
These observations do not prove the filter is the only issue, but they are a practical starting point. Duct blockage, fan problems, closed dampers, dirty coils, or control faults can also affect performance.
What to check before opening the filter section
Before you inspect the filter, take note of how the system is operating. You are looking for a fair comparison that you can repeat later after the filter has been checked, cleaned, or replaced.
Start with the system running in normal operating mode.
Look at:
- •the airflow at several supply vents in different parts of the building or home
- •the return grille or return air intake
- •whether airflow feels even from room to room
- •any rattling, whistling, or unusual noise from the return path or filter cabinet
- •visible dust, dirt, or debris around the return opening
If the system has multiple zones, compare one zone with another. A zone with far weaker airflow may point to a damper issue, a duct issue, or a filter problem if the system is sharing one return path.
If gauges are fitted, record the pressure drop before any filter work begins. This is often one of the best ways to track whether the filter is loading up with dust. Follow the filter and equipment manufacturer instructions when interpreting the reading.
How to inspect the filter and its fit
Once you have noted the existing airflow, switch the system off before opening the filter access panel.
Check the filter for:
- •visible dust loading across the full face of the filter
- •damage to the media, frame, seal, or corners
- •signs that air has been bypassing the filter, such as dust tracks around the edges
- •incorrect orientation or an uneven fit in the frame
- •moisture, odour, or mould contamination in or around the filter area
If the filter is visibly loaded, removing and inspecting it can quickly show whether airflow improves when it is replaced or cleaned, where applicable. Some filters are designed to be washable - check the product instructions before attempting to clean one.
For replacement filters, confirm the dimensions carefully before ordering. If you are unsure how to measure, our guide on how to measure an air filter may help, especially where the frame size is not clearly marked.
Comparing airflow after the filter is serviced
After the filter has been cleaned, reinstalled, or replaced, run the system again under the same conditions you used for the first check. Keeping the comparison as consistent as possible makes the result more meaningful.
Repeat the same observations:
- •feel the airflow at the same supply vents
- •compare the return grille to the supply vents again
- •listen for changes in fan noise, whistling, or strain
- •check whether previously weak rooms now receive more even airflow
- •compare the pressure drop again if the system has gauges
If airflow improves noticeably after the filter is addressed, that is a strong sign the filter was affecting performance. If there is little or no change, the issue may lie elsewhere in the system, such as the fan, coils, ductwork, dampers, or controls.
A useful habit is to keep brief notes of what you observed before and after the check. You do not need a complex log - just enough to remember what changed, where the airflow was strongest or weakest, and whether the return side looked restricted.
When airflow changes suggest more than a filter issue
A filter check is only one part of understanding system performance. If supply air remains weak after the filter has been inspected, the cause may be outside the filter itself.
Common clues that point beyond the filter include:
- •airflow is weak at every vent, even after filter replacement
- •one area of the building is fine while another stays poor
- •the fan runs but air output is still low
- •dust builds up quickly in places that should be protected by the filter
- •the return grille appears blocked by furniture, stored items, or debris
In some buildings, the ventilation arrangement also needs to be considered alongside the air conditioning system. Where relevant, site requirements should be confirmed with the mechanical services engineer or building owner, especially in relation to AS 1668.2:2024.
If you are dealing with a commercial site, the filter specification may depend on the equipment, indoor environment, and the type of particles being captured. G3/G4/F5-F9 classes are EN 779 terms that are still widely used in Australia, although ISO 16890 is now the current standard framework. These ratings do not convert directly, so the safest approach is to match the filter to the equipment and the site conditions rather than assuming an equivalent.
Keeping the check practical and repeatable
A simple airflow comparison is most useful when it is done the same way each time.
A practical routine is to:
- •inspect the return grille and surrounding area first
- •observe supply vent airflow before opening the filter cabinet
- •record any gauge reading if one is fitted
- •inspect the filter and note its condition
- •reinstall or replace the filter as needed
- •run the system again and compare airflow at the same vents
This approach is especially useful in dusty locations, busy commercial spaces, or buildings where return air paths collect more debris than expected. Inspection frequency depends on the system, site conditions, and dust load, so it is better to monitor the system and follow the filter and equipment manufacturer instructions than rely on a fixed schedule.
If you manage more than one site, it can also help to use the same inspection notes across different systems. That makes it easier to spot recurring patterns, such as poor return airflow, damaged filter frames, or filters that are not seating correctly.
Need the right filter for your system?
If airflow checks suggest the filter is part of the problem, Total Air Filtration can supply or make the right filters for your system. We are a family-owned air filter manufacturer and supplier in Hillcrest, Brisbane QLD, and we can help with standard sizes, custom orders, and site-specific requirements.
You can browse our products, explore custom air filters, or get in touch through contact us.
For help with filter selection or replacement, call 07 3800 3448 or request a quote.
Written by
The Total Air Filtration Team
General information only — always follow the instructions for your filter and system. Have questions about this article? We're here to help.